Integrating ADX2 with Unity – Part 3
This is our third tutorial about the integration of ADX2 with Unity.
If you haven’t done it yet, you can read the two first ones here:
Integrating ADX2 with Unity (Part 1)
Integrating ADX2 with Unity (Part 2)
In this tutorial, we are going to create a [CRI Atom Source], which is all we need to play an ADX2 Cue in Unity.
- First, play the scene.
![]()
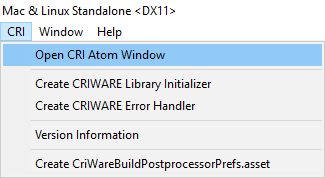
- Then go to the [CRI] menu and select [Open CRI Atom Window]
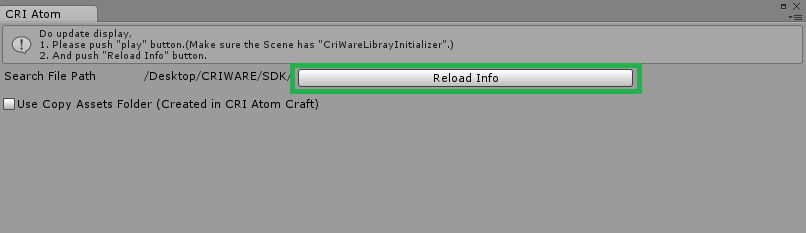
- Click on the [Reload Info] button to get access to the information about your project.
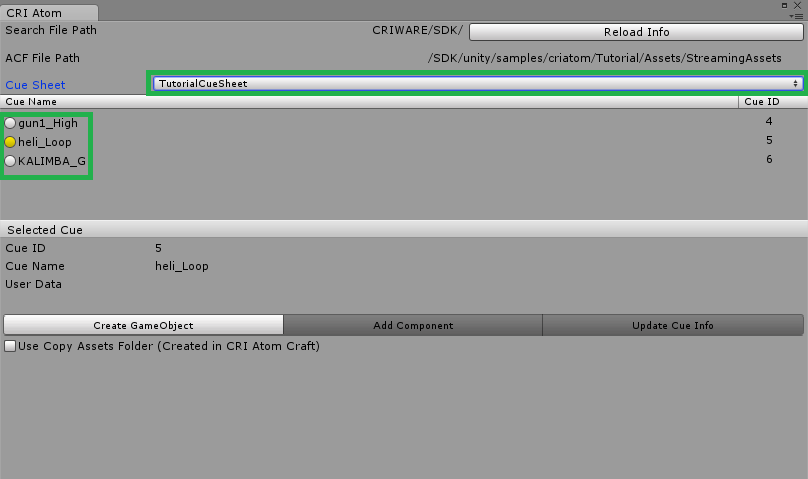
- In the “Cue Sheet” section select one of the CueSheets you exported and then choose the Cue to play.
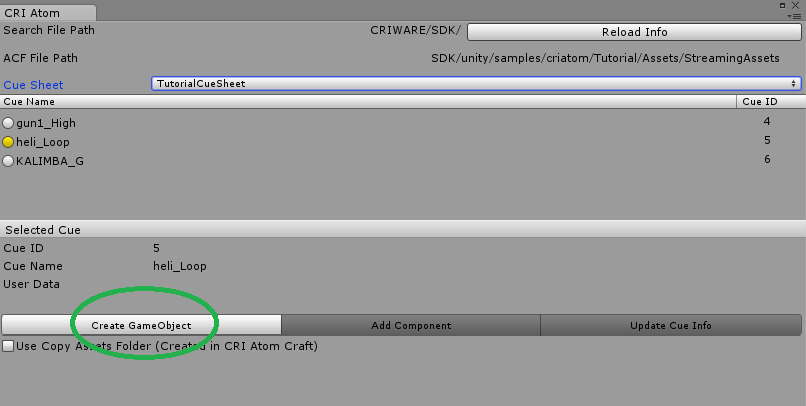
- Stop the scene and finally, click on the [Create GameObject] button.
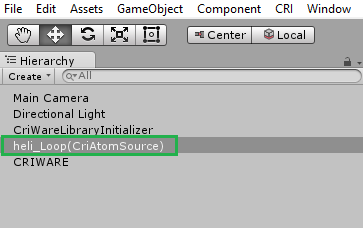
- A new [CRI Atom Source] is now present in the scene.
- Click on it, check [Play on start] and deselect [3D Positioning] in the Inspector.
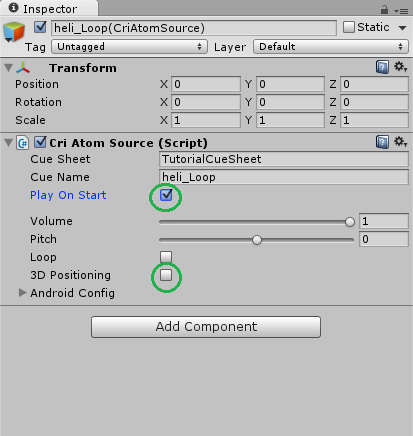
- Save your scene and press play to hear your Cue!
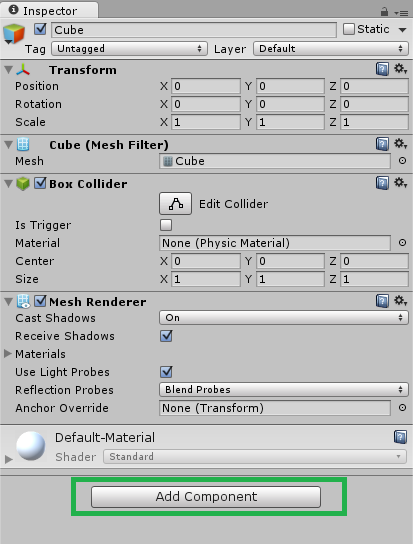
Of course, you can also add a Cue directly to an existing game object:
- Select a game object and, in the Inspector, press on the [Add Component] button.
- In the list, click on [CRIWARE] and then choose [CRI Atom Source]
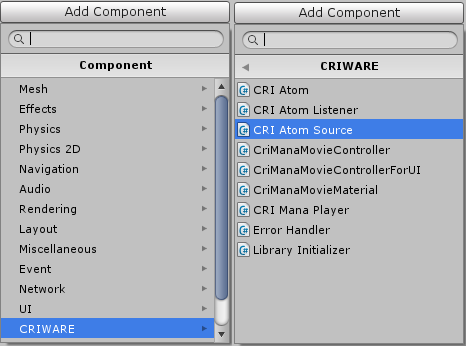
- The sound source has been added to the Cube object. Press play to hear your Cue!
In our next tutorial about ADX2’s integration with Unity, we will talk about the 3D audio positioning in more details.