
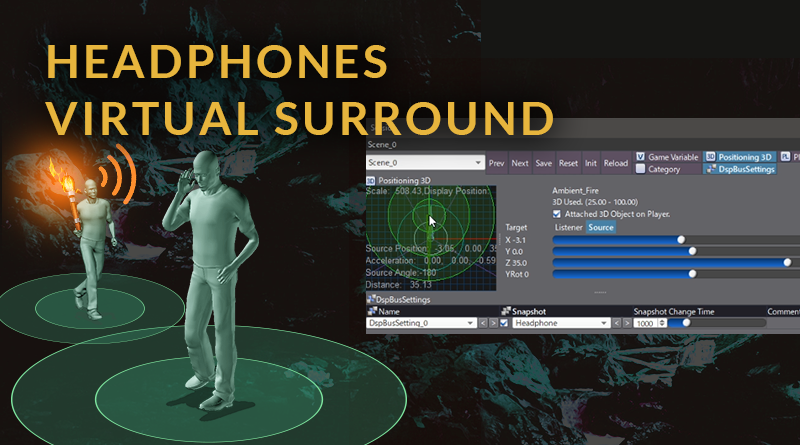
Panning & Headphone Virtual Surround in ADX2
Introduction
In ADX2, there are two Pan Types, Pan [5.1] and 3D Positioning [3D]. Pan [5.1] can be considered a 2D pan type, like typical stereo panning, where the level sent to each speaker controls the spatial image. 3D Positioning works similarly and additionally allows for dynamic volume control based on the distance between source and listener.
In general, we might use Pan [5.1] for something static like music, perhaps making full use of 5.1, or simply using it to reproduce a balanced “stereo” playback. Conversely, 3D Positioning might be used in a 3D game where the character can move around objects which produce a sound. This approach creates a more immersive experience that allows the player to understand the world around them.
The drawback of both Pan Types is that they assume the player has a 5.1 surround sound system to reproduce the spatial effect. And a consequence of this approach is that, when using headphones, sounds directly left of the player will be hard-panned to the left speaker. Fortunately, ADX2 offers a DSP effect that simulates surround sound listening with headphones. This creates a deeper and more natural listening experience.
In this blog, we will create a togglable system showcasing the above effect. And since this approach uses Snapshots, it could even be implemented in-game, allowing players to chose the system that best matches their setup.
Setup
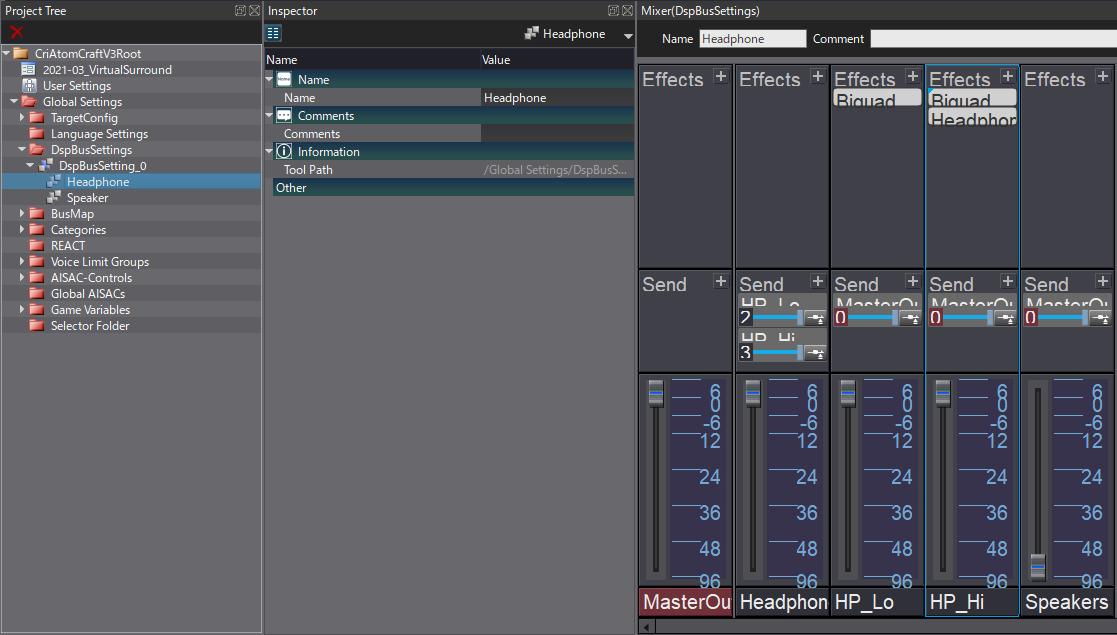
Let’s start by creating our Busses and Effects. Since bass frequencies are omnidirectional, and due to the way the Headphone Virtual Surround processes audio, it can help to separate the signal into two different spectrums for processing. The setup below splits the audio at 250 Hz, with signal below this threshold being unaffected by the Headphone Virtual Surround processor.
- On DspBusSetting_0
- Create a new Bus and name it “Speakers”
- Create a new Bus and name it “HP_Lo”
- Add a Biquad Effect
- Set Filter Type = Low Pass
- Set Cof Hz = 250
- Set Send to MasterOut
- Add a Biquad Effect
- Create a new Bus and name it “HP_Hi”
- Add a Biquad Effect
- Set Filter Type = High Pass
- Set Cof Hz = 250
- Add a Headphone Virtual Surround Effect
- Set Send to MasterOut
- Add a Biquad Effect
- Create a new Bus and name it “Headphones”
- Set Send to HP_Lo and HP_Hi
Next, we need to create recallable Snapshots for choosing between traditional 5.1 surround or virtual headphone surround.
- On DspBusSetting_0, Right-click → New Object → Create Snapshot
- Name it “Headphone”
- Set Volume of Speakers Bus to the minimum (off)
- On DspBusSetting_0, Right-click → New Object → Create Snapshot
- Name it “Speaker”
- Set Volume of Headphones Bus to the minimum (off)
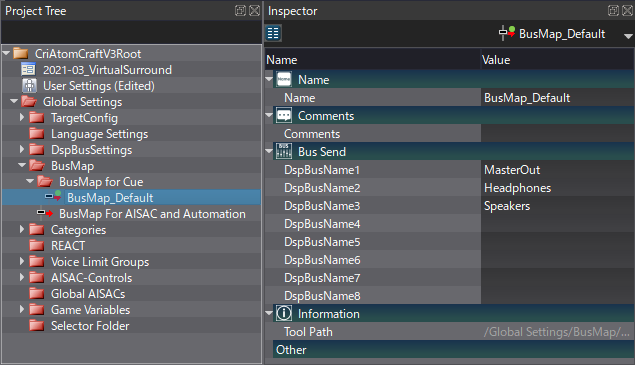
Then, we need to set up our Bus Map to send the signal from our relevant Cues to our Speakers and Headphones busses.
- On Default Bus Map
- Set DspBusName2 to Headphones
- Set DspBusName3 to Speakers
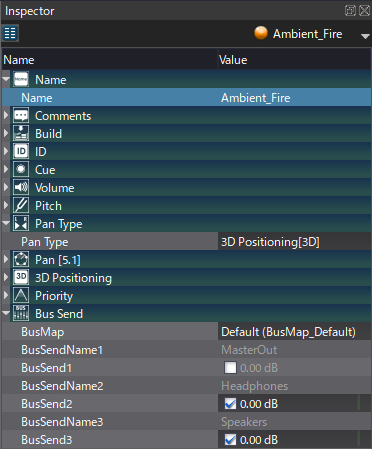
Lastly, we need to create a Cue to test our system.
- Create a Polyphonic Cue with a full-spectrum looping SFX (such as a fire)
- Set Pan Type = 3D Positioning [3D]
- Untick BusSend1 (MasterOut)
- Tick BusSend2 (Headphones)
- Tick BusSend3 (Speakers)
Session View
Playback can be auditioned via the Session View. In this window, we can simulate real-time positional changes between the source and listener and switch between Snapshots to hear the signal processing difference.