
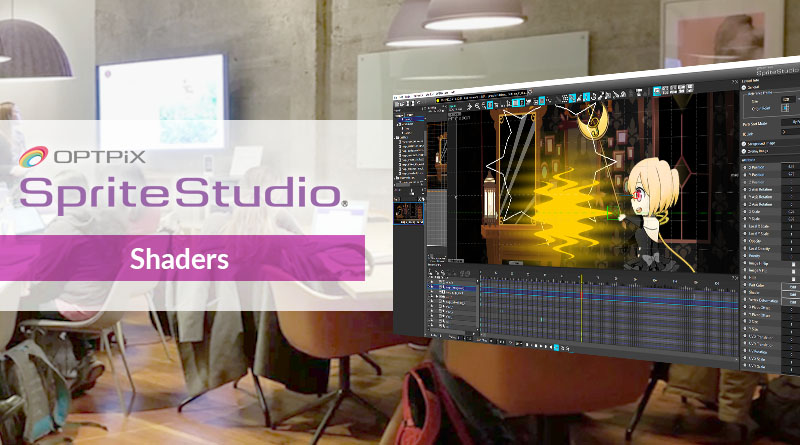
Adding Shaders to your SpriteStudio Animation
Shaders have been introduced in version 6.4 of SpriteStudio. They make it possible to add various effects to your 2D graphic assets and, since their parameters can be adjusted over time on the timeline, to add very expressive effects to your animation.
In this post, we will see how to add a simple magic effect to the witch scene we used in our SpriteStudio introductory series. You can see the result below.
![]()
1 – Installing the shaders
Shaders are not included in the SpriteStudio installer and must be downloaded separately from the help center. Click on this link to download the .zip file containing all the currently available shaders from the OPTPiX Help Center.
Once you have extracted the files, place them in your Documents folder, more specifically in Documents/SpriteStudio/plugins/shaders. There are two files per shader: an XXXX.fs file and a corresponding XXXX.ss-shaderinfo file.
The last step consists in making sure that Shaders are activated for your project. To do that, go to Project-> Project Settings -> General -> Compatibility-> Playback Target and make sure that the “Shader” box is checked, as shown below.
![]()
2 – Preparing the cells
To achieve our magical effect, we will be using two shaders: the “Outline” shader, which can change the contour of an asset, and the “Wave” shader that can apply a wavy deformation.
We first need to prepare the graphic assets needed. In this case, we simply create a star-shaped sprite with an extra blur. By blurring the image, we can create an animation in which the outline will change smoothly when adjusting the threshold parameter of the Outline shader.
You can see the graphic asset below. The effect of various threshold values on the outline is also depicted.
![]()
3 – Applying the shaders
The following video describes the process to apply the two shaders to our scene.
We first add the star cell to our animation, set its position and scale it as needed.
Then, at [00:06], the “Outline” shader is applied to the star. The parameters can be adjusted in the Edit Shader window.
Here, since the star image is blurred, you can see that the shape of outline is changing smoothly based on the threshold value. This is a great technique to create interesting animations from a single image.
At [00:23] we copy the previous star layer, and this time apply the “Wave” shader.
By adjusting the height, width, and phase parameters, we can decide how wavy we want the cell to appear, which is very useful to simulate time-warp and magical effects.
Finally, from [00:32], we adjust the timing of the two layers to complete the sequence of the star apparition.
![]()
By using a single sprite and applying shaders, we were able to create a dynamic animation in a very short time. There are many other shaders available – such as blur, pixelate or scatter – , so give them a try!