
Introduction to SpriteStudio
OPTPiX SpriteStudio (SpriteStudio in short) is a software developed by Web Technology, which is part of the CRI Middleware group. It is a feature-packed 2D animation system, used in many mobile games, as well as in the creation of standalone animations. In this post, we introduce the main components of a SpriteStudio project, the various animation features available, and the different ways you can export the results.
Importing your assets
In SpriteStudio, you start by importing pictures containing your graphic assets. These are your ‘reference files’. Then, you create ‘cell maps’ by indicating the position and size of the different elements or ‘cells’ you want to animate on these reference pictures.
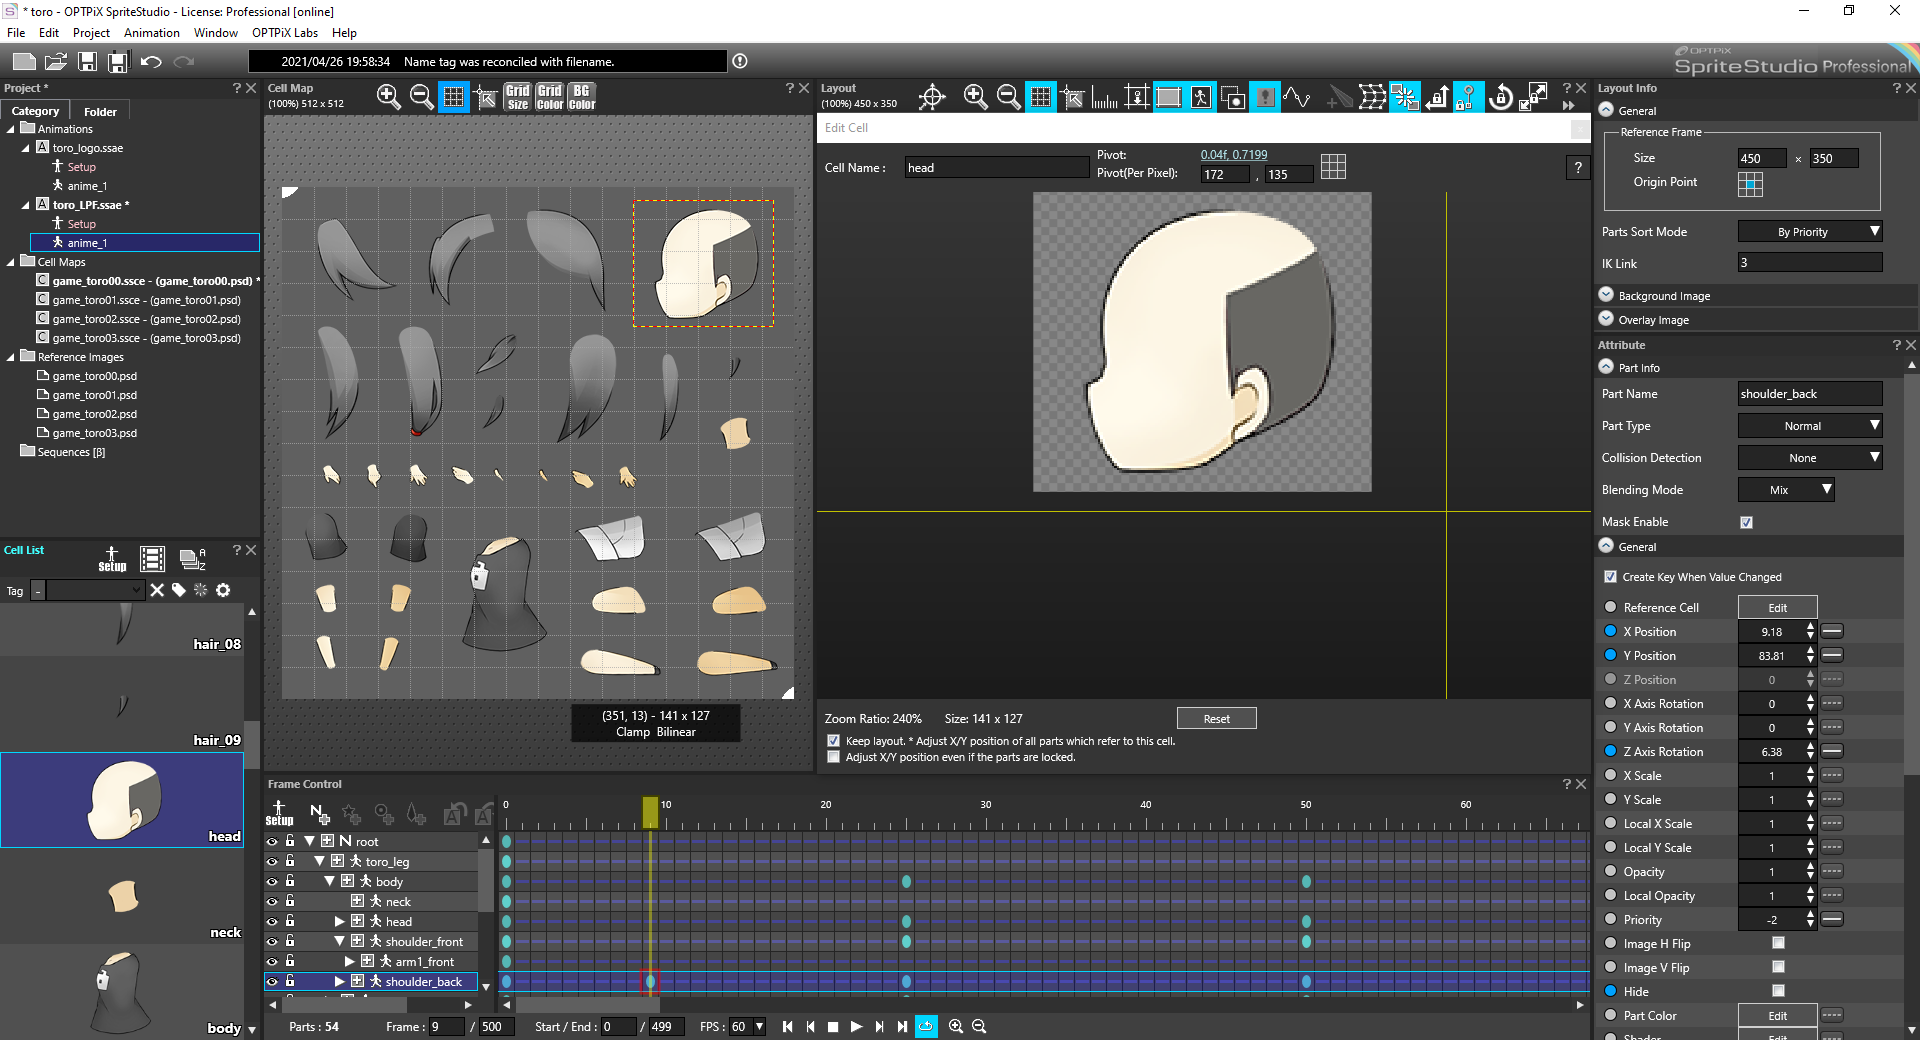
Note that it is also possible to generate SpriteStudio cell maps directly from Photoshop PSD files (using an external tool and a script), a technique which speeds up the import process considerably.
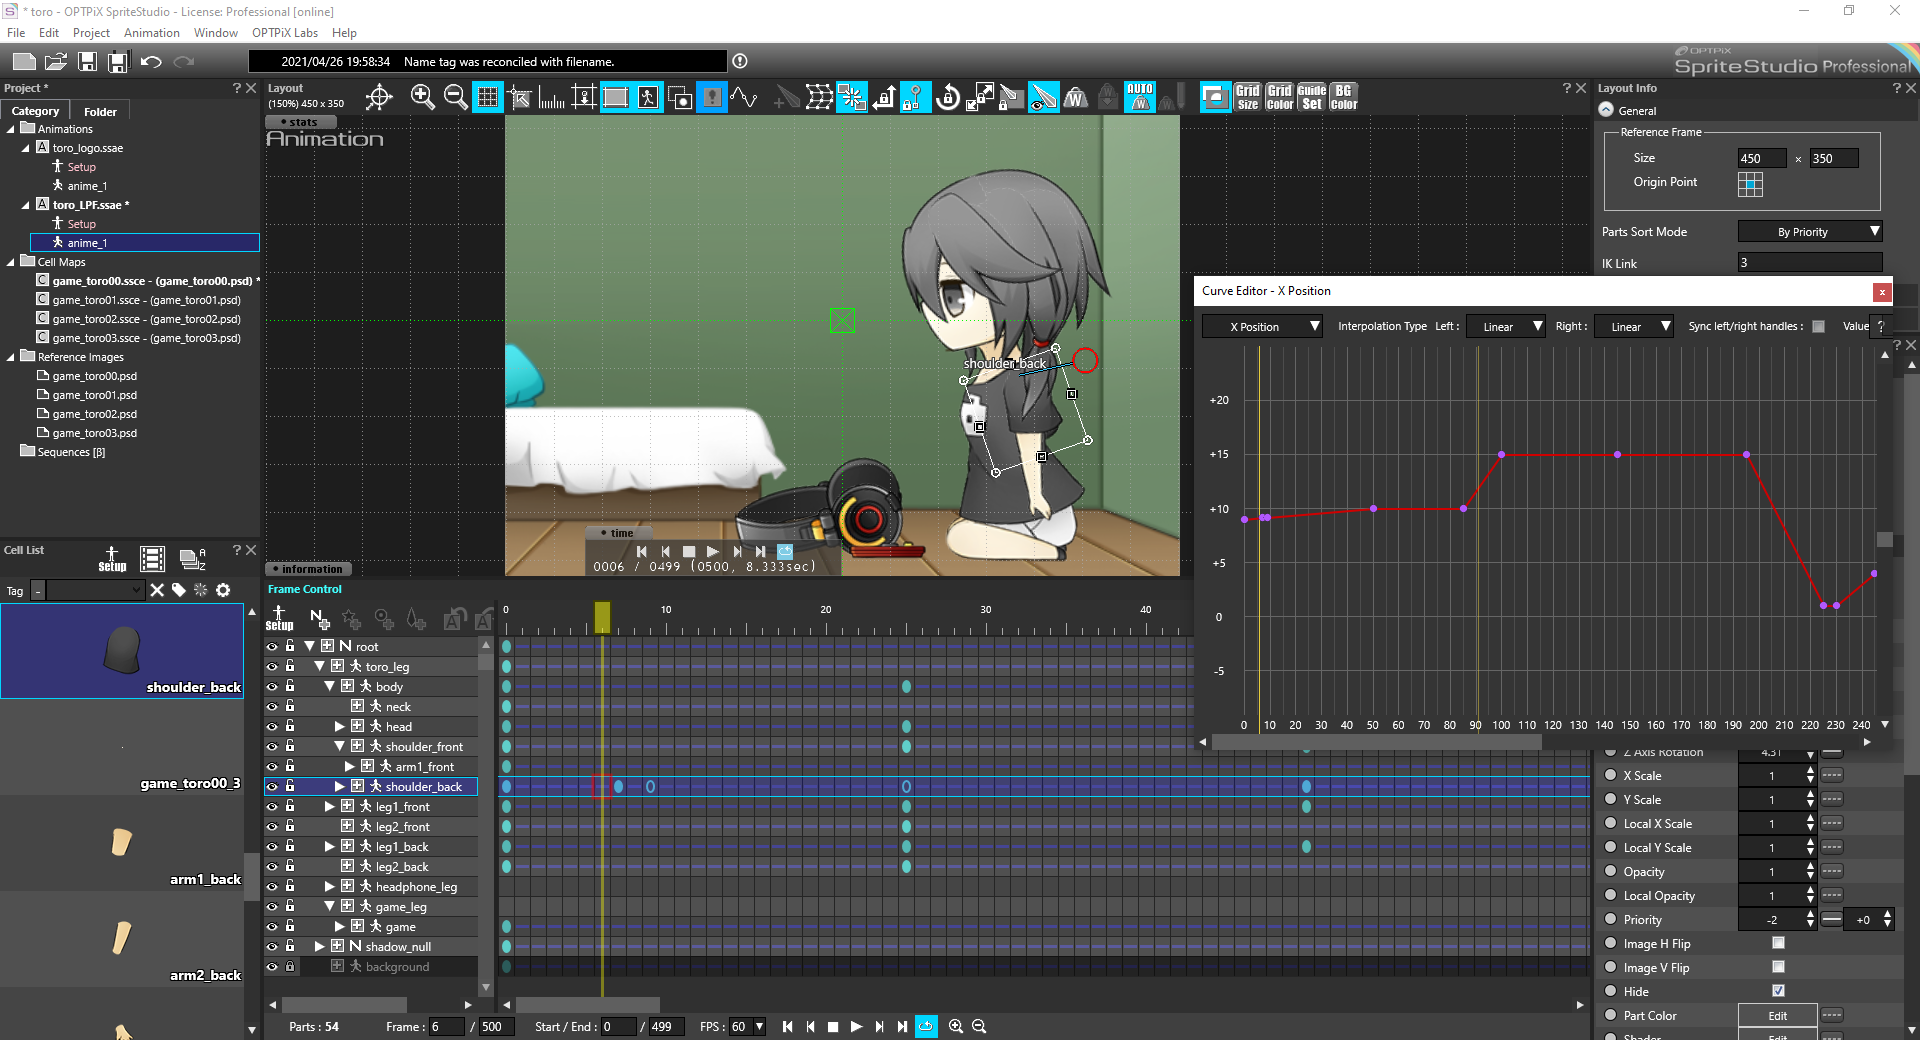
Animations are essentially created by editing timelines along which you modify the different properties of the cells you defined. For example, you can make a cell rotate over time, change its size, become transparent, and so on.
SpriteStudio also allows for the creation of sequences, which combine several animations.
Animation features
In addition to the classic interpolation of cell properties between keyframes – the foundation of this type of program -, SpriteStudio boasts a few extra features.
For example, it is possible to change the referenced cell in the middle of an animation, effectively simulating frame-by-frame animation. This is useful when the appearance of a cell temporarily changes (e.g., blinking light). In the same vein, using ‘instance parts’, it is also possible to add a cell to the timeline which is actually a full animation.
In the Effects editor, SpriteStudio essentially provides a 2D particles system which offers many parameters for the control of the emitter and the particles themselves.
The recently added mask feature applies a mask to the animation, allowing certain processing operations to only affect the cells that overlap with the mask. Since the mask is handled like any part of the animation, its shape and other properties can be changed dynamically over time.
Finally, another recently added feature, the bone-mesh system allows for hierarchical deformation, considerably reducing the amount of time needed to author complex animations.
Exporting your animation
Once you are satisfied with the way your animation looks in the tool, there are several ways to export it: as binary data that can be played back in real-time, as a final movie/animation, as a sequence of pictures or as a sprite sheet.
If you are making a game, chances are that you will go for the first solution. To do this, you will have to use the SpriteStudio SDK, which contains tools and a C++ library that will allow you to convert the project files to binary data and then play it back on your target environment. There are also SpriteStudio integrations for the most popular game engines: the SS6Player is available for Unity, Unreal Engine, and Cocos2d-x. It is important to note that the SpriteStudio SDK and the various integrations are open-source and available on GitHub.
If you just want to export the finalized animation, the tool gives you the choice between several formats: uncompressed AVI, GIF, and animated PNG. You can also export a serial-numbered sequence of regular PNG files.
Finally, you can export the animation as a sprite sheet. This was a popular way to prepare animations in the early days of game development and it is still very useful in some cases, when memory and CPU resources are low (e.g., for mobile game development). A sprite sheet packs all the animation’s frames into a single, large picture. It is associated with a document / script describing the placement of the frames in the picture as well as other properties. In the case of SpriteStudio, sprite sheets can be output as a .plist file and a .png image for Cocos2d-x, or as a .lua file and a .png image for the Corona SDK.
This concludes our quick introduction to SpriteStudio. As you probably noticed, it offers many possibilities, so don’t hesitate to request a trial version and try it for yourself!