
Flamethrower
Introduction
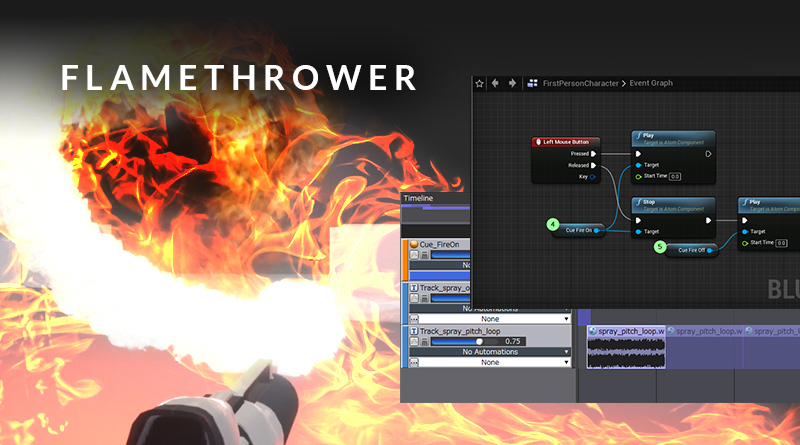
Most guns in shooter games utilise a discrete single-shot firing mechanic, which is generally pretty straight-forward to design for, but occasionally we will need to design for weapons which fire continuously. In this blog, we are going to look at a simple implementation for a flamethrower using ADX2 and UE4.

Setting up in Atom Craft
In order to create our weapon, we will need to represent two states: on and off. We could also create a third state to represent a key being “held”, but two will be enough for our purposes. The simplest approach needed is to use two separate Cues, one for when the player is firing, and another for when they stop.
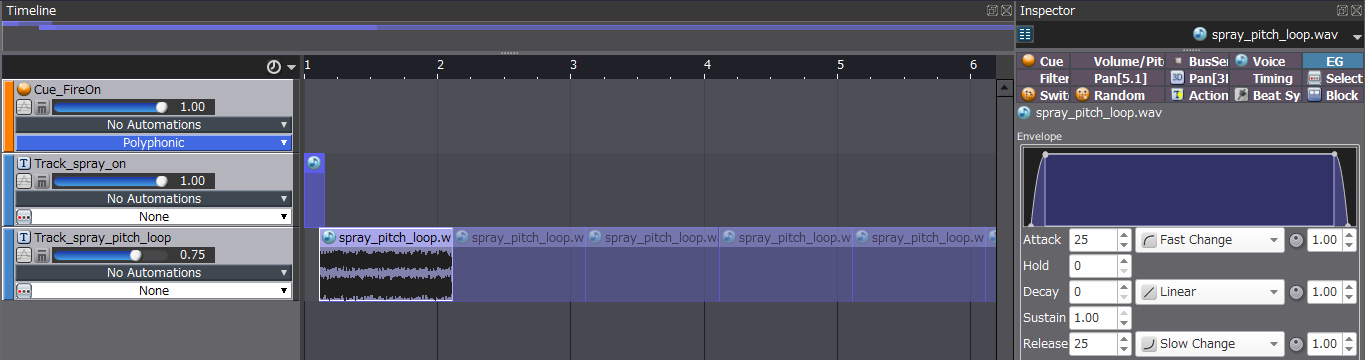
The included Atom Craft project has 3 waveform materials, and 2 Cues, Cue_FireOn, and Cue_FireOff. The Cue_FireOff contains a single track with a single waveform on it, which is just a simple sound cue that represents a weapon ceasing.
Cue_FireOn has two tracks, one with a click fire-start sound to represent the chamber opening, and the other which represents the continuous fire of the weapon. This was looped in the materials tree, with the only further addition being the application of an envelope to the loop. This prevents the loop from causing an audible click when it starts and ends.
Since the control for this is a little more complicated than can be represented in the Session view, we should now build our project and load the relevant files into UE4 for quick testing and iteration.
Implementation in UE4
As with last month’s blog, we can use UE4’s first-person template project to quickly get started. In the demonstration video, I’ve just thrown together a quick particle emitter to get the idea across, but it isn’t essential for us to test audio playback.
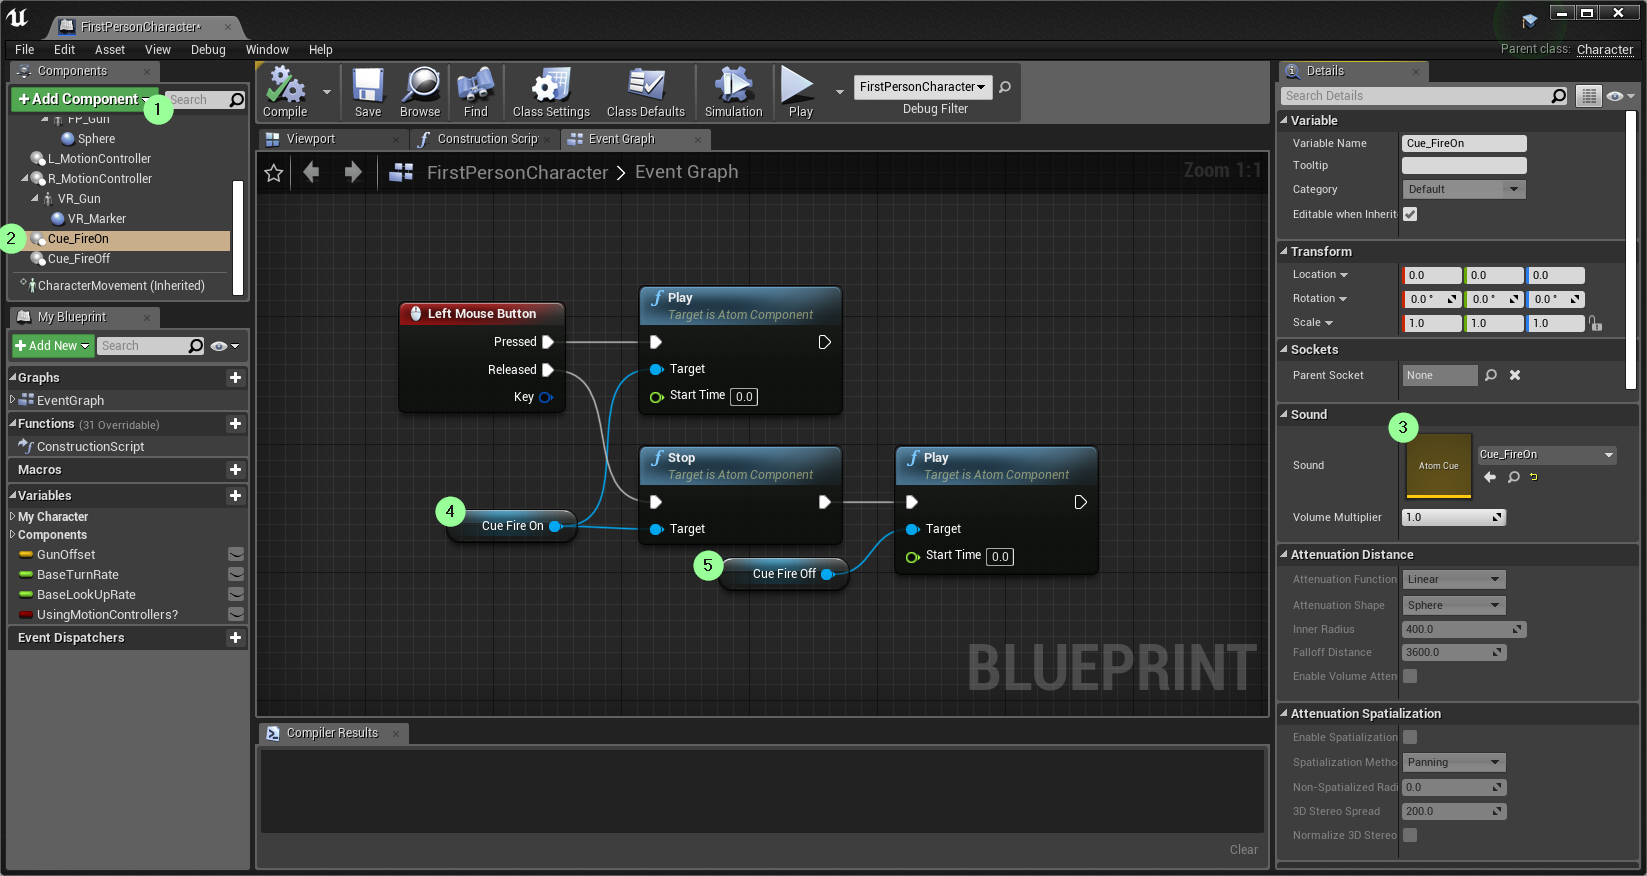
And as before, we are going to program our logic in the FirstPersonCharacter Blueprint’s Event Graph.
- First, we need to add our Atom Components in the Components Tab
- Create two, and name them according to their respective Cues for easy reference
- We then need to apply the relevant sounds to each in the Details tab
* don’t forget to disable Auto Activate at the bottom of the Details tab - We can now drag one of each of our Atom Components into the Event Graph view, which will serve as references for our playback logic
- And finally, we can arrange our playback logic as below, all of which is being controlled by the left mouse button state.
Our final result: when the player presses the left mouse button, the gun starts firing, and loops indefinitely. When the player releases the left mouse button, the loop stops, and the Cue_FireOff sound plays.