
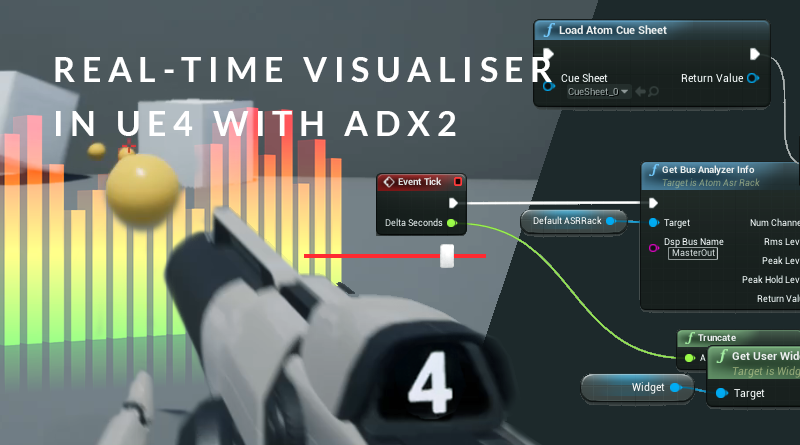
Real-time Visualiser in UE4 with ADX2
Introduction
A really handy feature of ADX2 is the ability to access amplitude data from the different buses set up in Atom Craft. This data can be used to control gameplay, as in our Controlling Lighting in Unity with Data from ADX2 blog, or simply displayed to the player as some form of visualisation. A practical use for this is to display microphone input levels, such as in multiplayer games which have a voice chat system. This allows the player to make sure that their microphone is working.
This blog is just a quick introduction on accessing and utilising this data in UE4, using UE4’s blueprints system.
Project Setup
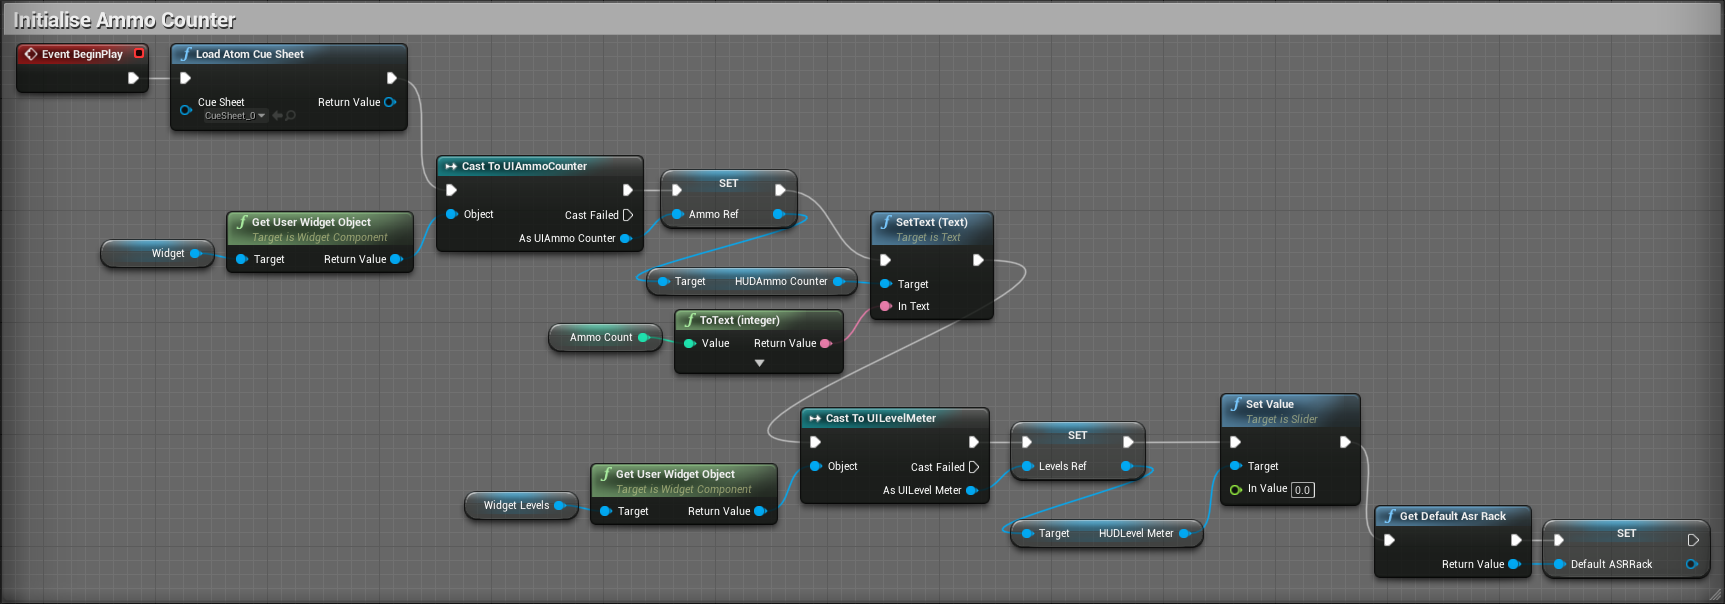
We have extended on this month’s blog of the month, starting by setting up a new UI widget in UE4. This will be used to display the master bus output levels (although any other bus could be used, such as a music bus).
- First, we need to initialise our new UI element and Default ASR Rack. ASR refers to the Atom Sound Renderer, which is an internal module of the CRI Atom Library that performs sound mixing and DSP processing.
- We then define a new variable of type Atom Asr Rack and name it DefaultASRRack. The UI blueprint code is copy-pasted from the ammo widget (with some adjustment), and the Get Default Asr Rack action simply stores the current default ASR rack so that we can refer to it later (since we only need to define it once).
- For the analysis part, everything revolves around the Get Bus Analyzer Info This takes in an ASR target (which we defined in the first part) and a DSP Bus Name. Since no new buses were set up in the Atom Craft project, we are going to get the data from the MasterOut bus.
- We then execute everything using an Event Tick action to calculate this data each frame and update the slider UI’s value accordingly. Since the bus analyser outputs an array of floats, we are using a Get action to retrieve the current RMS value (by comparing against time in delta seconds). This is then scaled up to match the slider UI, and some additional logic has been implemented to change its colour if this scaled value goes above 0.5.
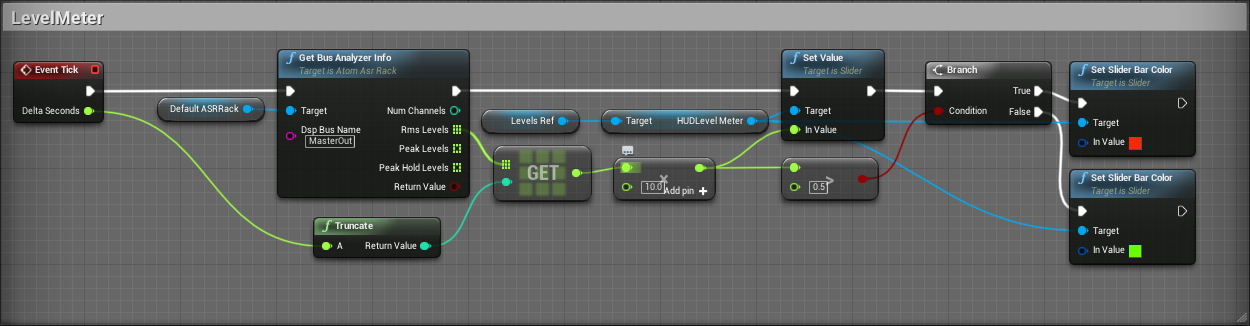
Let’s compile the blueprint and play the level. You will now see a slider which acts as a sort of level meter, showing you how loud the MasterBus output is. You can set up any other bus configuration to show the levels of different sounds as needed, and even use this as control information for gameplay.