Eerie Ambience
Creating immersive and intriguing soundscapes sometimes requires more designed ambiences. In this post, we describe how positioning randomization can help create eerie ambiences with scattered sonic elements. Atom Craft facilitates this type of design by providing many interesting 3D positioning settings.
Asset Creation
For this ambience, we first create some drone-like background loops:
- Two loops are created: a rumbling sound and an airier layer.
- By combining files with different durations, we can mask the looping point and achieve a more natural ambience.
Them, the individual sonic elements that will be scattered throughout the environment are created:
- For our example, we created 3 different sounds, a pad, a shimmer, and a shaker.
- Several variations of each sound were created.
Once designed, all these sounds are imported in AtomCraft. For the two background loops, make sure that the Override loop information Flag is set to True.
Implementation
We start by implementing a Cue for the background sound:
- First, create a Polyphonic Cue.
- Then drag and drop the two loops on the Cue, creating two Tracks.
- For each Waveform Region, set the durations of the EG Attack and EG Release segments to 500 ms to ensure a smooth playback at the beginning and at the end.

In order to create a bit of motion, a modulation effect is added:
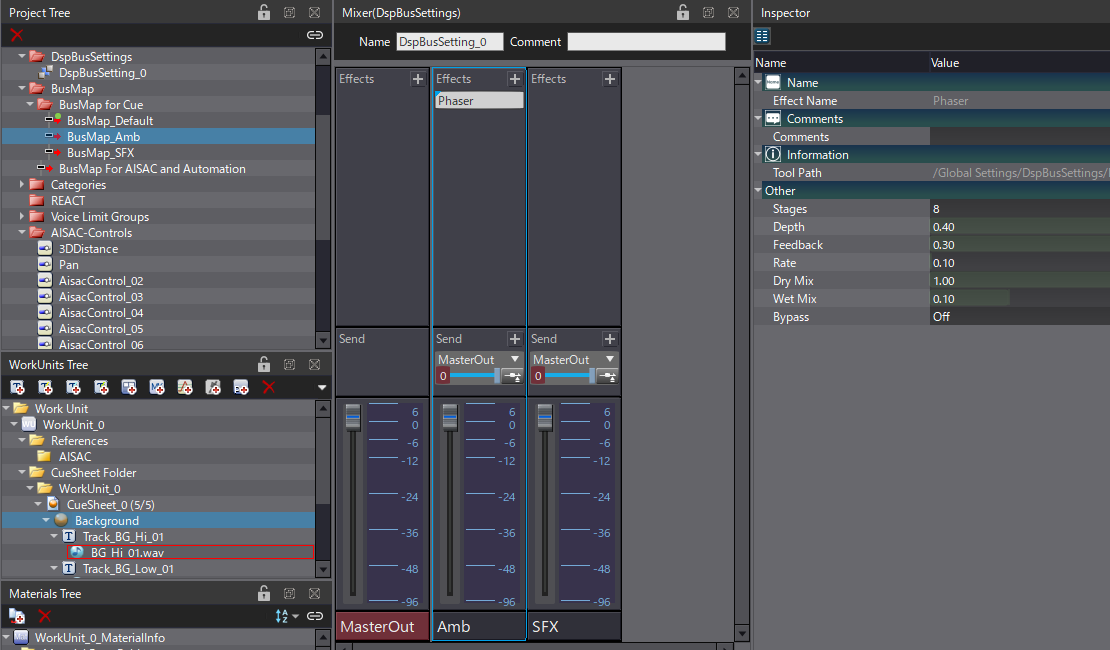
- In the Mixer tab, create a new DSP Bus called Ambience.
- Add an effect such as Flanger, Chorus or Phaser to add some modulation.
- To avoid the effect from being too pronounced, the Wet property stay relatively low.
- Create a BusMap dedicated to your Ambience bus.
- Then, assign the BusMap to route the background Cue to the bus.
The implementation starts in the same way for each individual sonic element:
- Depending on your sound Materials, create either a Random, Random No Repeat or Shuffle Cue for each element (in our example, we created two Random No Repeat Cues and one Shuffle Cue).
- Drag and drop all the variations for each sound on their respective Cue.
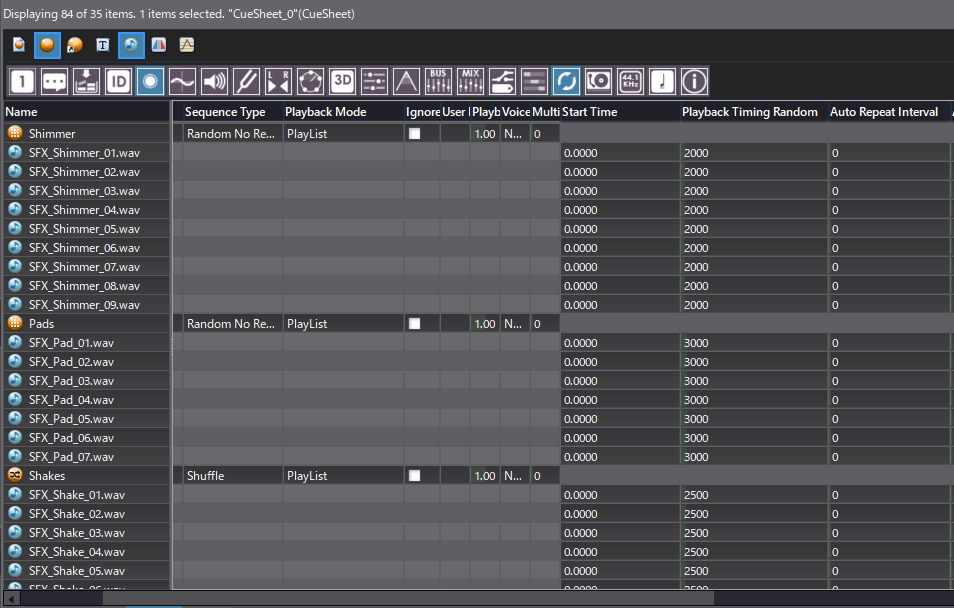
- Switch to the List Editor tab to change the properties in batch.
- Change the Playback Mode to PlayList, so that the Cues will play continuously.
- In the Timing section, adjust the Playback Timing Random property of the Waveform Regions. Each sonic element should have a slightly different value (e.g., 2000, 2500 and 3000 ms).
Since we want to create an immersive and dynamic atmosphere, we will randomize the spatialization of each sonic element. We will start with the Shaker and Shimmer sounds as they are similar:
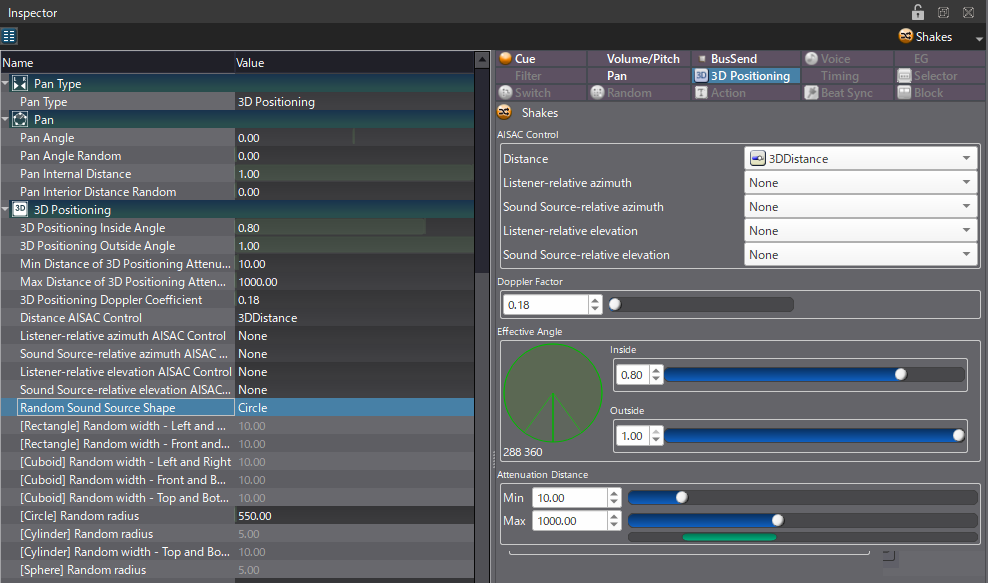
- Select both Cues and change their Pan Type property to 3D Positioning.
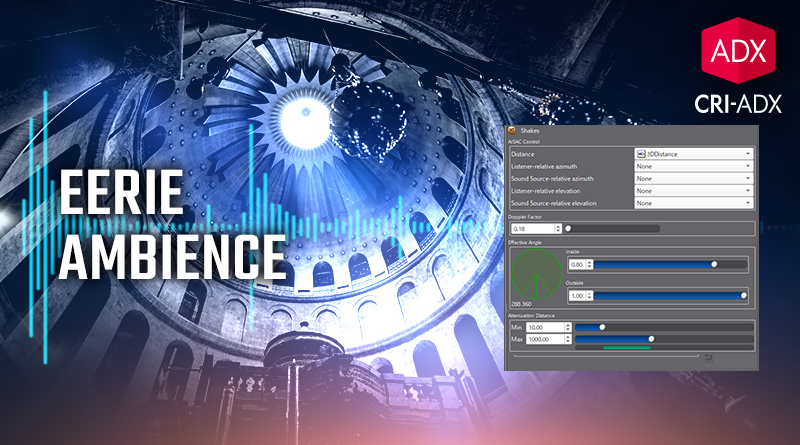
- Then set the 3D Inside Angle to 0.80, the Min Distance to 10, and the Max Distance to 1000.
- Optionally, you can assign an AISAC to control the Distance.
- Set the Random Sound Source Shape to Circle to activate the randomization of the position. Change the [Circle] Random Radius to 500.
With these settings, each time a Shaker or Shimmer sound is triggered, its position will be randomized.
The pad sounds are ideal to add some movement to the overall ambience, so the approach differs a bit:
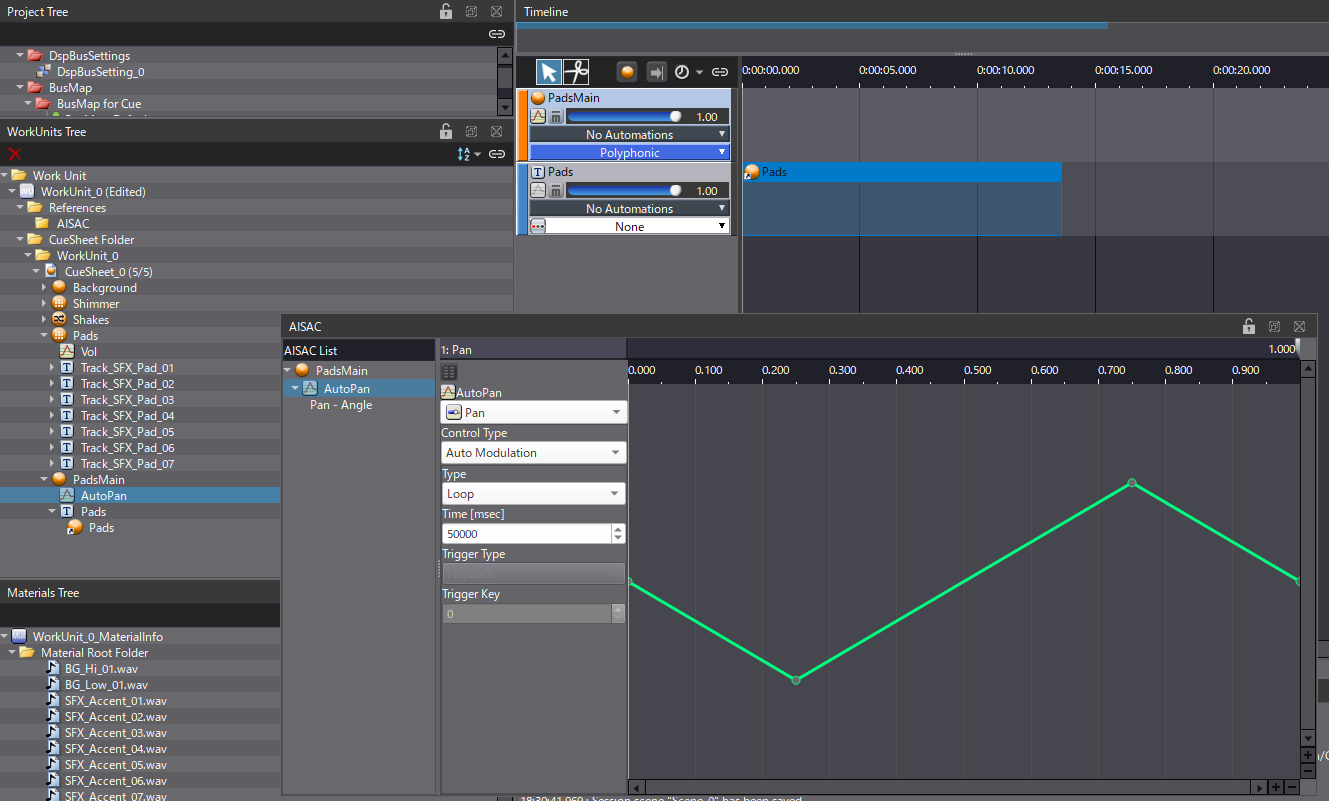
- Create a new Polyphonic Cue and drag and drop the pads Cue onto it to create an External Cue Link.
- Create an AISAC to control the Pan – Angle of the Cue.
- Set the AISAC’s Control Type to Auto Modulation, the Type to Loop, and the Time to 50000.
- On the graph, add two points at 0.25 and 0.75 and change their Destination Value to -90 and 90, respectively.
When this Cue is played, the pan will progressively change, creating a smooth motion. Using a new Cue with an External Cue Link should prevent the AISAC’s Auto Modulation from resetting when the original pad Cue plays the next Track in the playlist.
Once everything is set up, open the Session window, drag and drop the Cues and start playing this new eerie ambience. You can try it out right away by downloading the project below.


 AtomCraft_Project_EerieAmbience.zip