
Photoshop to SpriteStudio
Many graphic artists are using Adobe Photoshop and Illustrator to design the elements of their animations.
In part 2 of our series introducing SpriteStudio, we saw how to import graphic assets from PSD files into the tool, create cell maps and define animation cells.
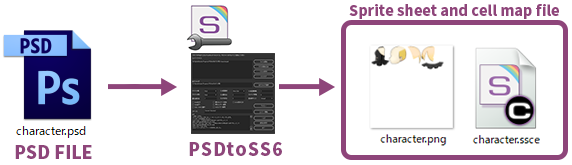
In this blog, we introduce a little-known utility called “PSDtoSS6”. This tiny tool significantly shortens the path from the design of assets in Photoshop to the definition of animation cells in SpriteStudio, and drastically reduces iteration times!
You can find PSDtoSS6 on Github:
https://github.com/SpriteStudio/PSDtoSS6/releases/tag/v.2.4.0rc1
Workflow
First, it is important to notice that there are 2 possible workflows, depending on whether your graphic file contains data for Photoshop specific features (such as filter, style, layer etc…).
If that’s the case, the workflow is like below:

If you are not using photoshop filters etc…, the workflow is like this:
In this blog, we will check to the first workflow, as the second one is essentially a simplified version of it.
Using the export script
Let’s say that our Photoshop file contains 5 parts, each on its own layer. You will recognize graphical elements of the little witch from our tutorials.
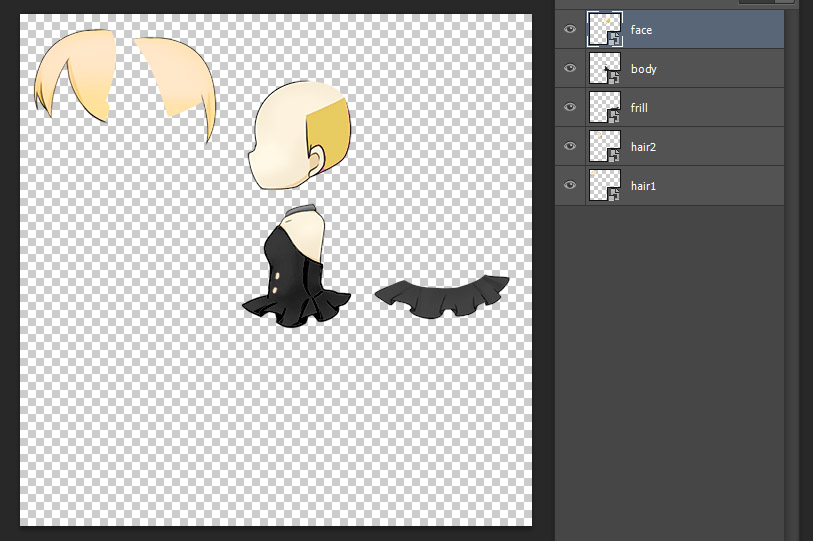
In Photoshop, go in the [file] menu, select [script] and execute the “PSDtoSS6_Export.jsx” script. (This script is part of the tools.zip package on GitHub).
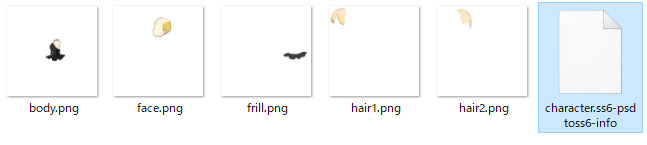
Once the script executed, new files will have been generated in the folder where your PSD file is located. They include one PNG file for each layer, and an intermediate file with the extension .ss6-psdtoss6-info.
Converting files with PSDtoSS6
It is now time to launch the PSDtoSS6 tool. Simply drag and drop the intermediate file (.ss6-psdtoss6-info) and press the convert button. Although there are many other options, you can convert your graphic files with just these 2 steps!
(As a reminder, if you are not using Photoshop filters etc…, that’s all you need to do!)

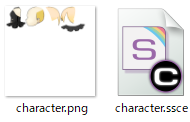
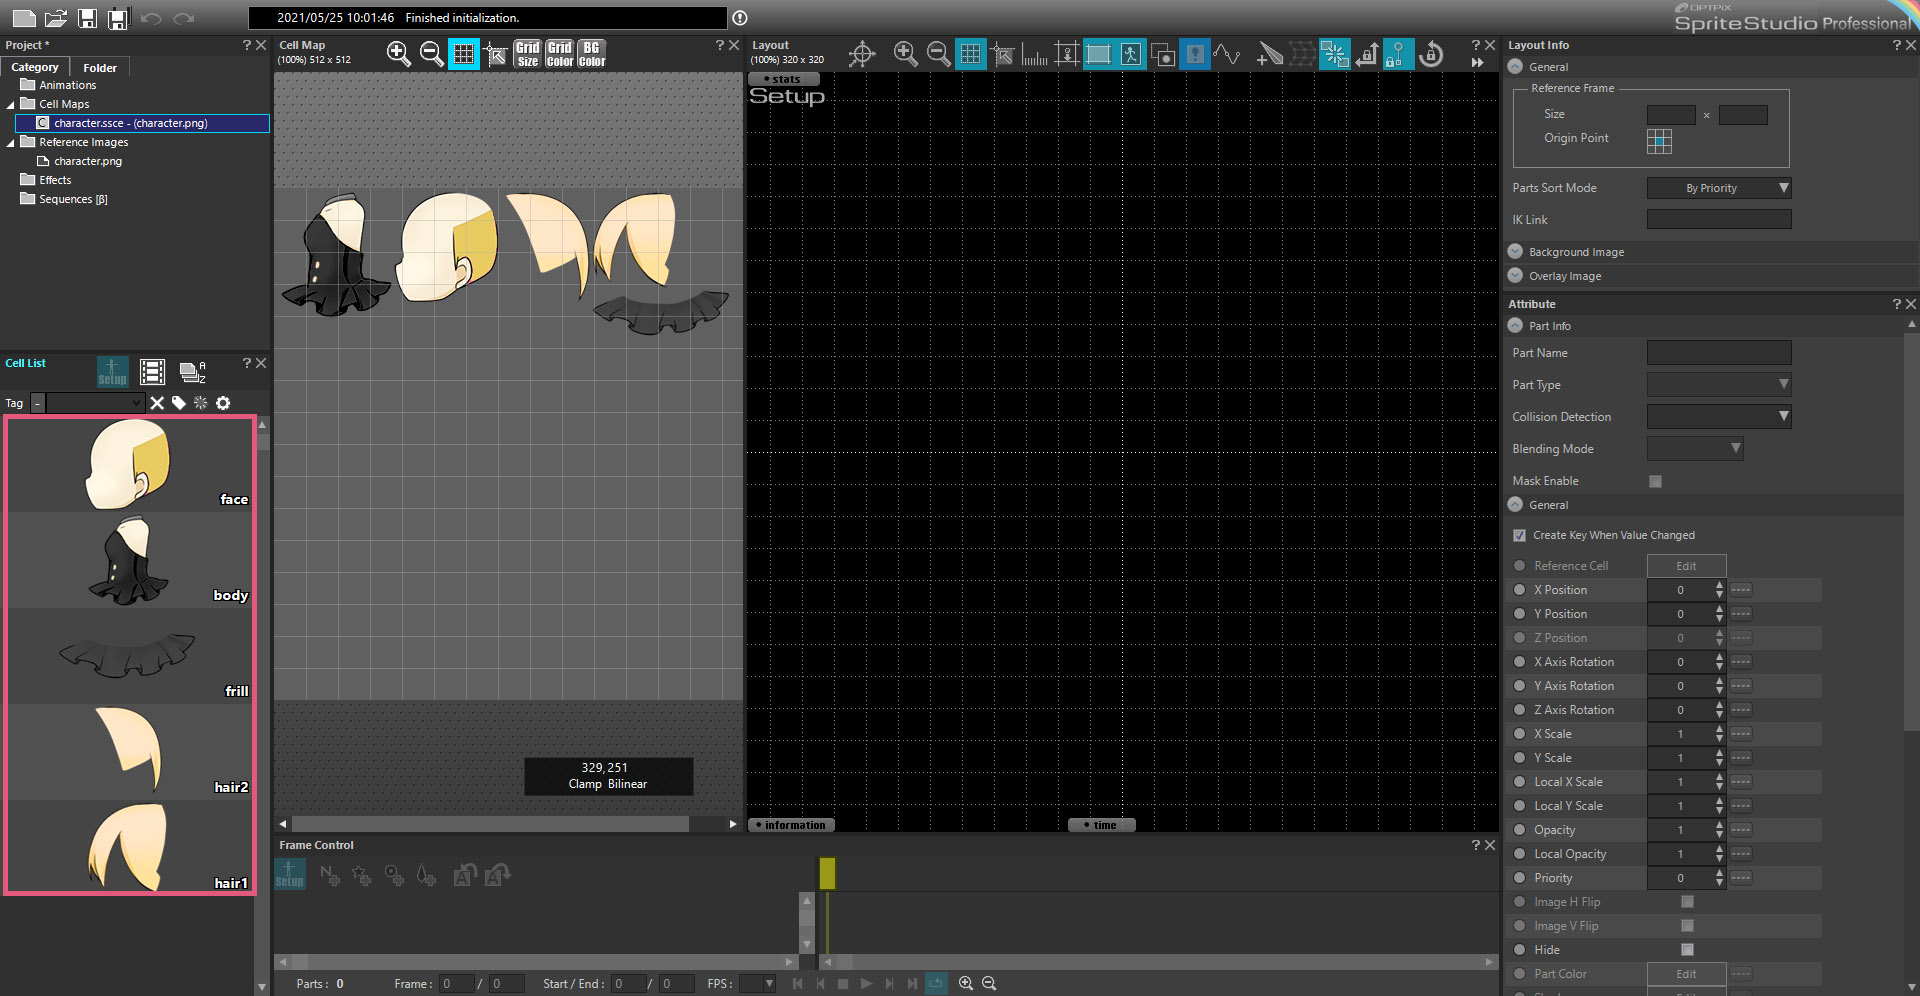
Once the conversion is over, a sprite sheet in .PNG format – with all its elements packed without any margins – has been created, as well as a .ssce cell map that you can open in SpriteStudio.
If you add this cell map file to your project, you will see that all the cells have already been cut out automatically and appear in the Cell list, which is a huge time saver!
Benefits of using PSDtoSS6
To recapitulate, PSDtoSS6 allows you to:
-
Significantly shorten the workflow from asset creation to cells registration.
-
Optimize the size of the cell map (i.e., the .ssce file), by generating a file where the graphic parts are packed together without any margins.
-
Drastically reduce iteration times: should you need to modify your assets in Photoshop, it will only take a couple of clicks to update them in SpriteStudio.