
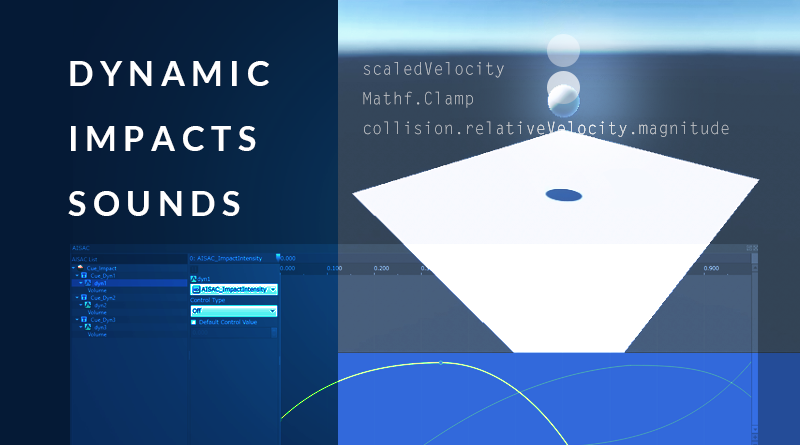
Creating Dynamic Impacts Sounds in Unity using ADX2
Introduction
Physics-based games can have loads of distinct interactions, and it can break immersive if the sounds of these interactions don’t match up with our expectations. Fortunately, ADX2 gives us the tools to make these interactions easier to design for.
In this month’s blog, we will look at layering different impact intensities in Atom Craft and controlling playback in Unity using AISAC.

This project was created using CRIWARE SDK for Unity V2.99.00 and Unity V2019.2.10f1
Atom Craft
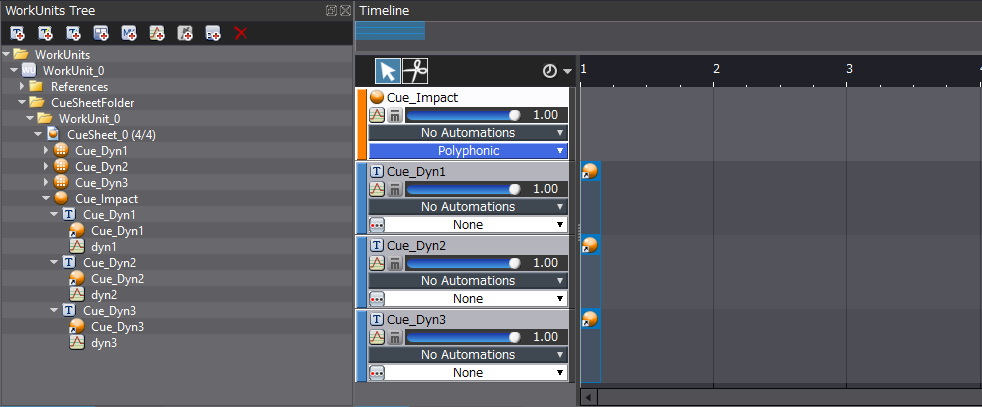
To start off, we need a few dynamic variants of the same type of impact. Next, we can move onto setting up the Cues and creating the logic. For the first part:
- Create 3 Random No Repeat Cues
- Name them appropriately (“Cue_Dyn1”, “Cue_Dyn2”, “Cue_Dyn3”)
- Populate them with the relevant waveform Materials
Then we need to create a new Cue to orchestrate the dynamic playback:
- Create Polyphonic Cue, name it “Cue_Impact”
- Create Cue Links for each dynamic Cue layer in Cue_Impact (as below)
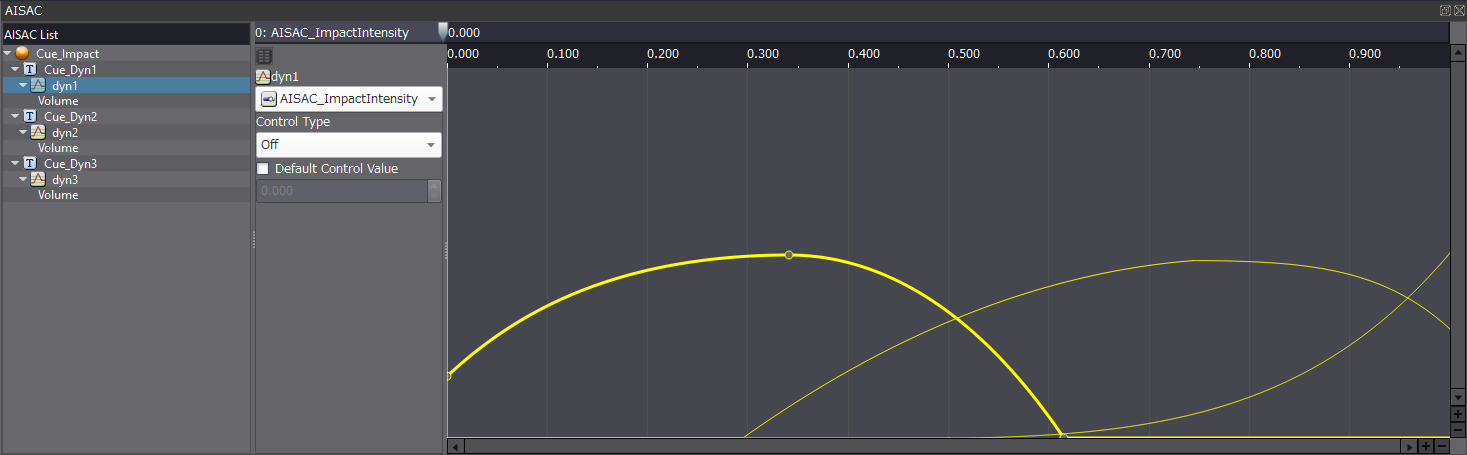
And finally, we need to set up some AISAC logic to smoothly control playback between dynamic layers.
- Rename “AisacControl_00” in Inspector to “AISAC_ImpactIntensity”
- For each Cue Link, create an AISAC and set the following:
- AISAC Name – “dyn1”, “dyn2”, “dyn3”
- AISAC Control – AISAC_ImpactIntensity
- AISAC Graph Type – Volume
With all the graphs and Cues in place, we can set the curves up to fade appropriately. This step requires a fair amount of iteration and finessing, and it’s worth spending the time to get it to sound natural and consistent.
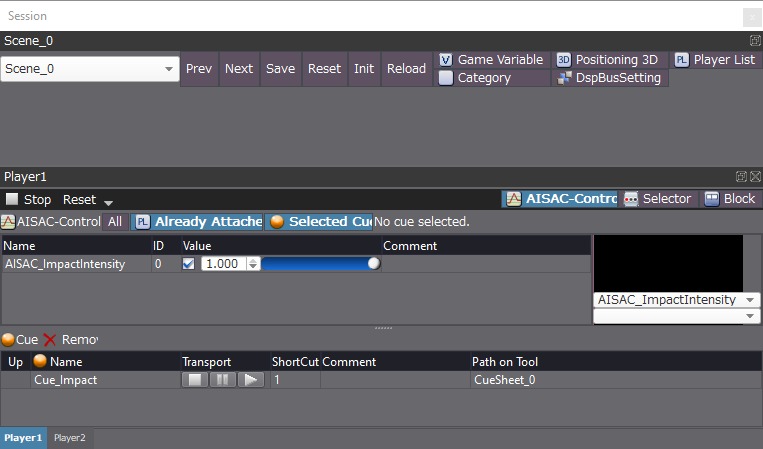
We can of test this out and finesse it more easily using the Session Window.
This system is one which we can curate entirely from within the Atom Craft. However, as usual, it’s helpful to test the overall feel of this system by testing it out in practice, so let’s build our Project and jump into Unity to see how to accomplish this.
Unity
Prototyping impacts in Unity is a simple endeavour since Unity has a robust physics engine in place. We only need a few lines of code to get everything to playback dynamically.
To set up our Scene, we can place a Plane, and a Sphere floating above it. To apply physics to the Sphere, all we need to do is add a Rigidbody component in the Inspector. This component will apply some gravity to the Sphere, allowing it to fall downward.
Finally, we can add a Cri Atom Source script with our Cue_Impact script to the Sphere and create a new C# script called “VelocityImpact.cs”. The code snippet below can be copy-pasted into this script.
using System.Collections;
using System.Collections.Generic;
using UnityEngine;

public class VelocityImpact : MonoBehaviour
{
    CriAtomSource source;
    [SerializeField]
    private float scaledVelocity;

    void Start()
    {
        source = gameObject.GetComponent();
    }

    private void OnCollisionEnter(Collision collision)
    {
        scaledVelocity = Mathf.Clamp((collision.relativeVelocity.magnitude / 20), 0f, 1f);
        source.SetAisacControl("AISAC_ImpactIntensity", scaledVelocity);
        source.Play();
    }
}
As usual, we need to reference the CriAtomSource component on our object, which is being handled in our Start function. The OnCollisionEnter function is a handy callback that takes care of detecting collisions between objects. An especially handy feature of this function is the ability to get the magnitude of the collision, which can be directly fed into our AISAC (after some scaling and clamping has been applied to get the values to fit between 0 and 1). Once this value has been set, the sound is then played.
Conclusion
The system outlined above offers responsive, physically informed playback of impact sounds, and it also manages to be very efficient!