

Implementing a Dynamic Foley System in UE4 for VR
Introduction
In our previous blog, we put together a dynamic Foley playback system in Atom Craft using several layers controlled by AISACs. We did some testing using the Session view and applied a few tweaks and effects to sell the idea. In this blog, we will implement our audio into a VR project to contextualize the system we designed.
To implement our audio, we can use the VR Blueprints template that UE4 provides. As usual, the documentation is the best place to start if you need help getting the CRIWARE SDK integrated and the CueSheet Binary imported.
 2020-09_VRFoley
This project was created using CRI Atom Craft Ver.3.43.09 and UE4.24.3
Sound Cue
To make the process as straightforward as possible, we will follow the same systems and layouts that UE4 provides. Fortunately, the provided Blueprints are very extensible. We will only need to make changes and additions to two of them to get our system working.
In the Content Browser, let’s navigate Content → VirtualRealityBP → Blueprints and open up the BP_Motion Controller Blueprint.
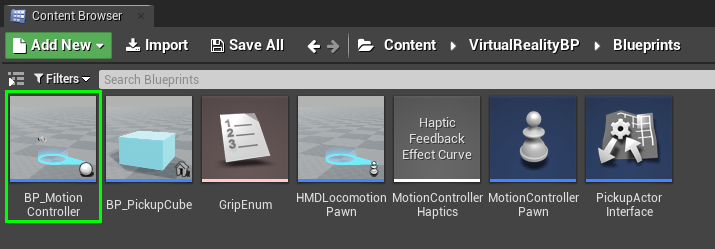
This Blueprint contains all the components and logic for our motion controllers (the specific controllers used for VR). This includes the mesh used to render our virtual hand, so this seems like a logical place to attach our audio. In the Components tab, select Add Component → Atom Component, and rename it “FoleySound.” With this component selected, we can select Cue_Foley in the Details panel as our Sound, disabling Auto Activation near the bottom of this list.

Spawn and Playback
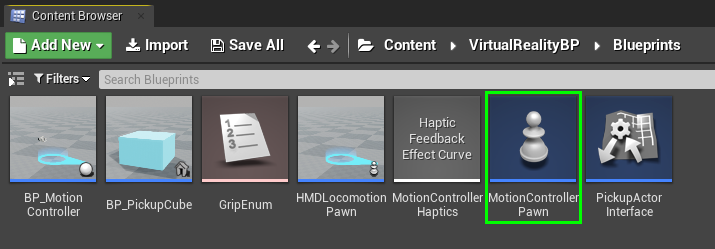
To initiate playback, we can head back to our Content Browser and open up the MotionControllerPawn. This Blueprint is a pawn of our BP_MotionController, which spawns the in-game hands at startup and handles control input during run-time.
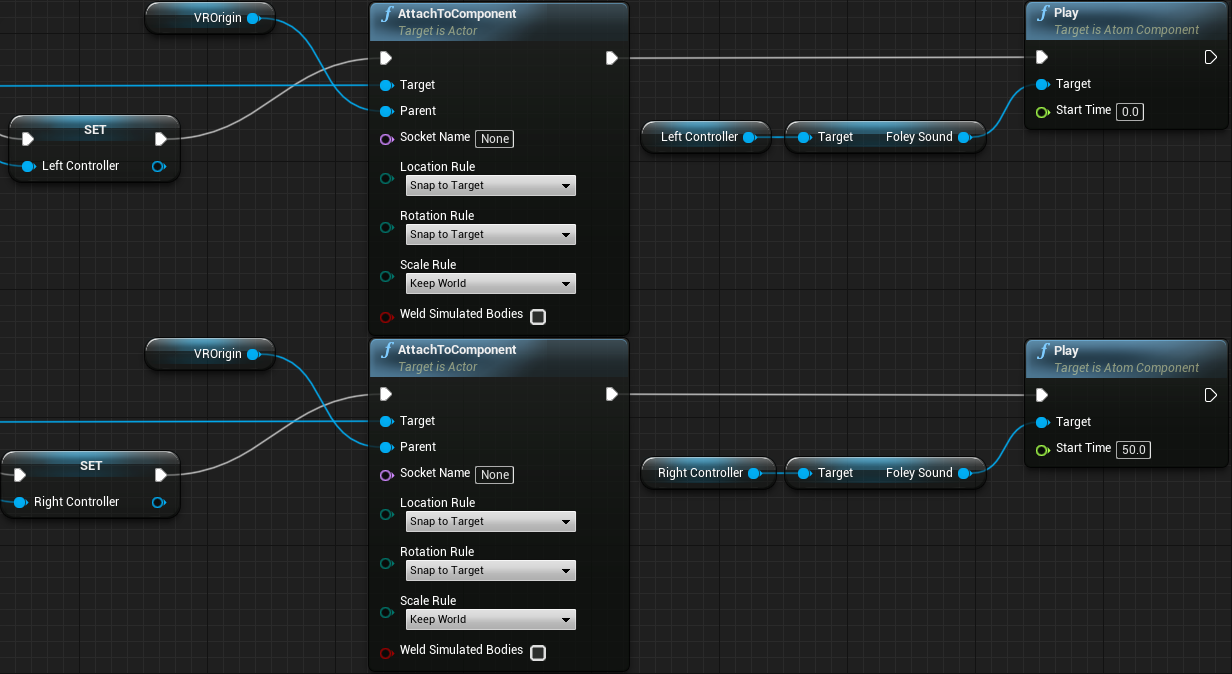
In the Event Graph, we can navigate to the comment box titled “Spawn and attach both motion controllers.” Since we need our Foley to be applied to both character hands/arms, we should reference the spawned copies of our Motion Controller. At the end of each AttachToComponent action, we can create Play actions, setting the target to the LeftController and RightController variables. Dragging from these, we can then access the FoleySound components that we created previously. The last step is to offset playback by setting a different Start Time value for either of the Play actions (to avoid unwanted phasing).
Velocity-based Control
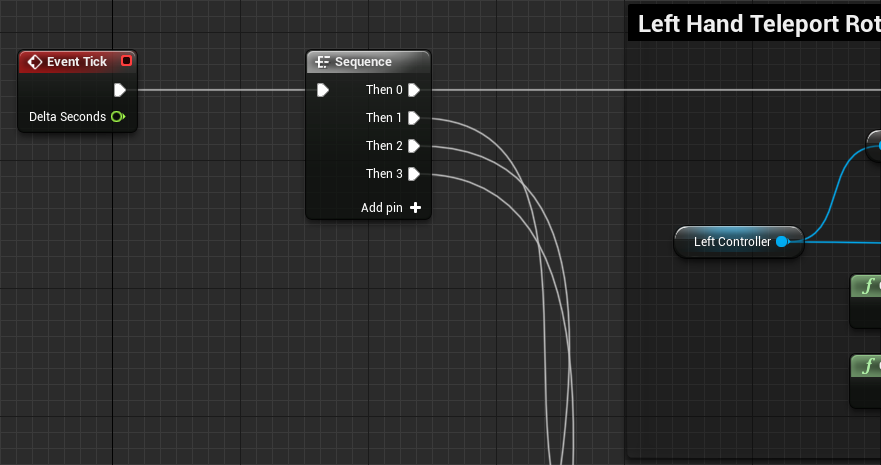
Next, we can navigate to the bottom of the Event Graph where Teleportation is handled. These processes are updated on an Event Tick and sequenced in series for each hand. We can add two additional pins for our left and right controller Foley playback.
The approach used to get controller velocity will depend, to some extent, on the hardware used. For a more generalized approach, we could attach a Sphere Collider to our BP_MotionController and use a Get Velocity action. However, if we’re designing for an Oculus device, we can use the provided library to Get Raw Sensor Data. This action conveniently outputs Linear Velocity data directly from the controller. For each hand, the correct Device Type should be set accordingly.
We then need to adjust the values we receive to serve our purposes better. First, we need to get the absolute values for our velocity vector, since output values can be negative depending on the direction of the movement. Then, we need to add all the values together and divide them by a scaling value. This scaling serves to fit the output values into a useable range. For this example, we have created a float variable named “Whoosh Scaling” and set it to 25, but this value should be set to whatever feels right in context. The final value is applied to a Set Aisac By Name action. For each of these, the Control Name should be set to “Aisac_Foley” (as we defined in Atom Craft), and the target should be set to Left Controller → FoleySound and RightController → FoleySound as relevant.

With the above set, we can now jump into a VR session and test out our system. The sensor data provided are notably raw, so we might decide to implement some mathematical smoothing or safeguards to protect against sudden velocity spikes. However, the above should provide a good system for rapid prototyping.