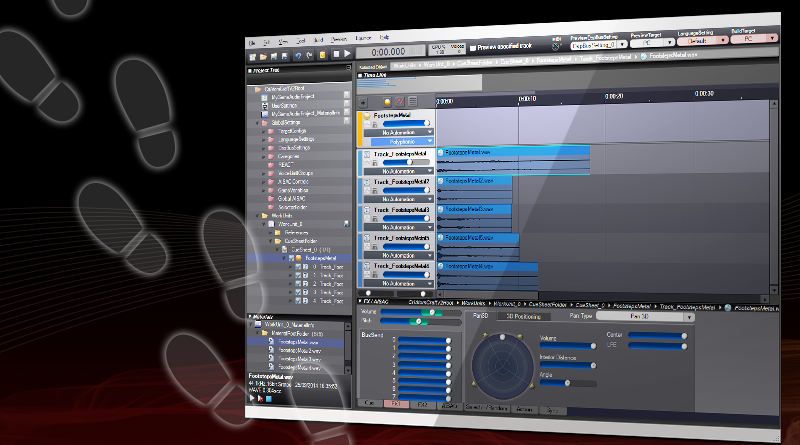
Footsteps Sound Effects Implementation Using AtomCraft
This post describes the implementation of surface-dependent footsteps using AtomCraft.
Introduction
Footsteps are some of the most common sound effects implemented in video games. In recent AAA titles, it is not uncommon to find very sophisticated systems managing hundreds of audio assets relating to different types of characters, shoes, surfaces, and movements.
This post will teach you how to implement a basic surface-dependent footsteps system using AtomCraft. You will then be able to improve it based on the specific requirements of your game.
The basic knowledge
The main features of AtomCraft that we will be using for this implementation are listed below, with links to their respective tutorial videos. We recommend that you watch these tutorials if you are not familiar with AtomCraft yet.
- The Cue parameters Tutorial #9
- The Switch & Selectors Tutorial #19
- The AISAC Tutorial #13
- The Session Window Tutorial #19
The concept
There are several ways to implement footsteps sound effects in a game. Here, we will show how to create a simple multi-surface system with a single Cue. It will prove itself to be very convenient when triggering the sound effects from the game side, since the programmer can always call the same Cue and simply change a parameter based on the surface the character is walking on. You can later expand on that principle to account for different type of shoes and so on…

Step by Step
Step 1- Import the Audio Files
The first thing to do is to import all the needed audio files as Materials, so that they can be referenced later by our Cues. We can import audio files by dragging-and-dropping them onto the Material Root folder or by using the context menu.
Go to the Materials pane, right-click on a folder and select “Add Material (Waveform) files”.

When you add audio files to an AtomCraft project, they are duplicated in one of its materials folders (we suggest that you organize your files in subfolders).
Step 2- Create the Sound Cue
Let’s create our Cue. This Cue will be used to play all our surface-dependent footstep sound effects.
To create a Cue: go in the Work Units section of the project tree, right-click on the desired CueSheet and select “New object”. There are many different types of Cues available. Because we want to make a Cue that will change depending on the surface type, we will select a Cue of type “Switch”.

It is a good time to set the Random Volume and Pitch parameters, which can still be tweaked later. Select the Master Cue Track and click on the FX1 Tab to get access to the random settings.

Step 3- Create the Selector
Selectors are variables that can take several predefined values called Selector Labels. At run-time, the cues of type Switch will check the value of a Selector and only play back the Tracks that are associated with the appropriate Selector Label.
To create a new Selector: go to the Global Settings section in the project tree, right-click on the Selector Folder, select New Object and then click on Create Selector. We will rename the new Selector as “FS_Surface”.

Step 4- Create the Selector Labels
Now we need to create different Selector Labels for each surface type. To create a Selector Label: right-click on the Selector, select New Object and then click on Create Selector Label.

Repeat this for each type of surface. For example, let’s create Wood, Grass, Concrete and Dirt Selector Labels.
Step 5- Assign the Selector Labels
The next step is to assign each Selector Label to a different Cue Track. After creating a Track for each surface type, click on the Random/Selector tab, then specify what Selector to use in the scroll down menu and assign a Selector Label to each Track.


Step 6- Create the Subsequences
A Subsequence has functions similar to those of a Cue. Tracks and Waveforms can be added, edited and randomized directly in the Subsequence. It is essentially a whole Cue contained within a Track.
To add a bit more variety to the footstep sounds, each Subsequence will randomly pick a sound effect among several for a given surface. For instance, the “Grass” Subsequence will contain all our footstep sounds on grass.
To create a Subsequence: right-click on a Track, select “New Object” and choose “Create Sub Sequence”.

Step 7- Assign the Audio Files
We are now ready to add our different audio files to their respective Subsequence. To open a Subsequence, double-click on it. It will look exactly like a Cue:

Set the Subsequence type to Random No Repeat so that the footstep sound is chosen randomly and never played twice in a row. Finally, drag and drop all your audio files onto the timeline at once.
Step 8- Testing and fine-tuning
Now, to test our new Switch cue, click on the View menu and then select the Session Window.

To test the footsteps Cue, drag and drop it on the Session Window, select one of the Selector Label (i.e. surface type) and hit play to hear the result.

Bonus- Using AISACs
If your character has different walking speeds, it could be interesting for the audio to reflect that as well. A simple way to achieve this is to use the AISAC system. For instance, we could use the pitch and volume AISACs to slightly modify the sound of our footsteps based on the character speed.

*You can learn more about the AISAC system in this blog.
If you want to test an example of this implementation in AtomCraft, we have created a small project that you can download below:
[Pease note that this project requires AtomCraft version 2.27.x or higher]
This concludes our post about the implementation of footsteps in AtomCraft. Let us know if you want to see other typical sound effect implementation examples!


