
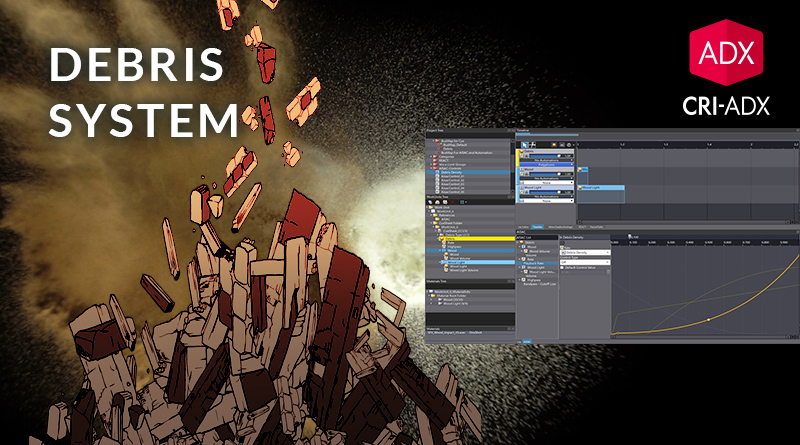
Debris System
In this tutorial, we will see how to create an interactive debris system in AtomCraft. Once we are done, here is how it will sound:
Editing the sounds
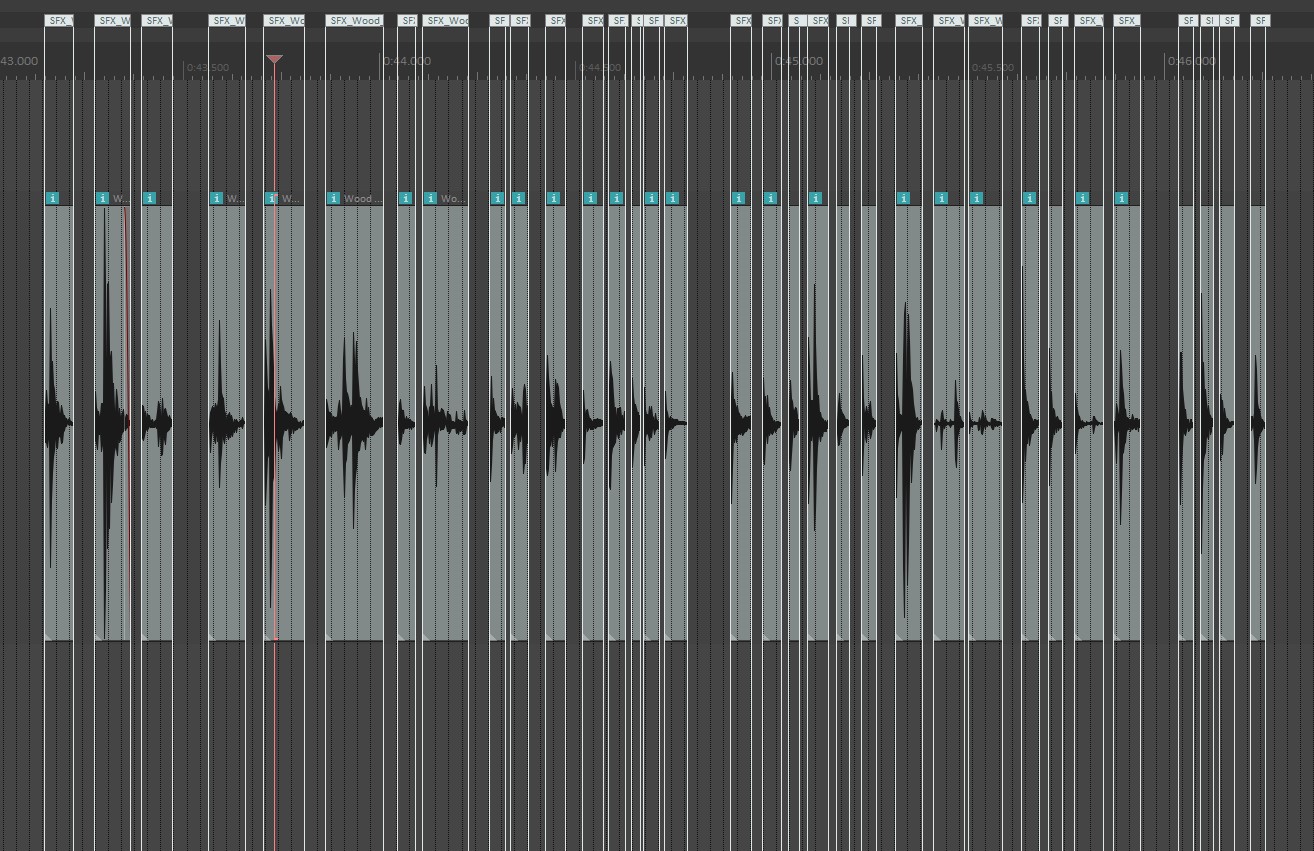
First, we need to prepare the samples in a specific way. Since our implementation will be similar to granular synthesis, we edit and export a lot of small files – sonic grains – having a duration between 100 and 200ms. We then separate them in 2 groups corresponding to light and heavy debris. To get enough variation, we recommend using at least 10 samples for each group. In this example, we created wood-based debris but this technique can of course be applied to any type of material (rock, glass, metal…).
Creating variation
Now that we organized our samples, let’s start the implementation in AtomCraft:
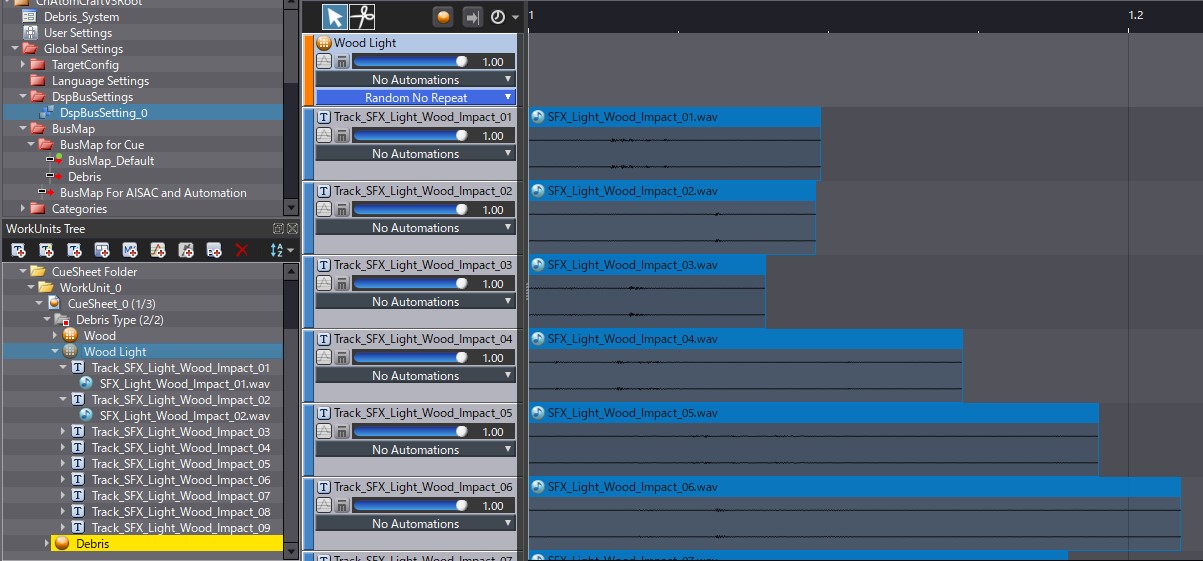
- Create two Random No Repeat Cues, one for each group of samples (light and heavy).
- Drag and drop the samples onto their respective Cues in the WorkUnits Tree; this will create a Track for each file.
Since these Cues will be constantly triggered, we want to make sure that there is enough variation so that we cannot hear the same sounds again and again.
- Select the two Cues in the WorkUnits Tree.
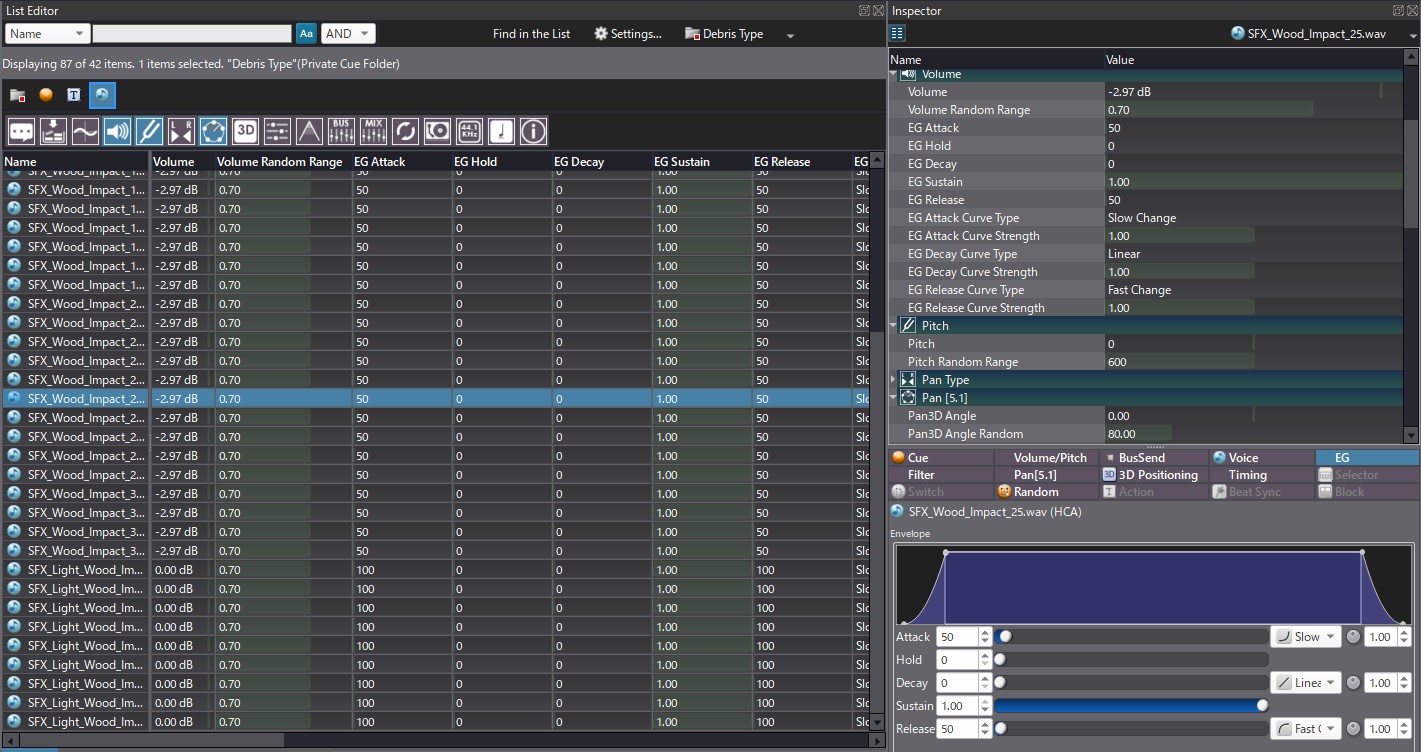
- Then, in the List Editor window, display the Waveform Regions (and only them).
It makes it possible to edit the properties of these sounds in batch. First, create an Envelope Generator for each sound, to avoid any click and some crossfading when they are triggered. Although it depends on the duration of the samples, the Attack and Release parameters can usually be set between 50 and 100ms. Here, we also set the curve type of the Attack and Release sections to Slow Change and Fast Change respectively.
Lastly, Volume, Pitch and Pan Angle Random Ranges are assigned to each sound. In this case, the Volume range was set relatively high at 0.7 to increase the dynamic range. However, the Pitch Range was only set to 600 cents to avoid the Wood debris to sound too unnatural. These values should be adjusted depending on the material of your debris. The Pan3D Angle Random Range, can be set to a value around 80° to add a sense of space.
Global debris cue
It is now time to create our main Polyphonic Cue called Debris, set its Playback mode to Playlist (so it plays continuously) and drag and drop our two Random No Repeat Cues onto two different tracks to create CueLinks.
At this point, if the Debris Cue is triggered, it will generate a stream of wood samples, played immediately one after the other, which is not suitable for debris sounds.
Let’s correct this!
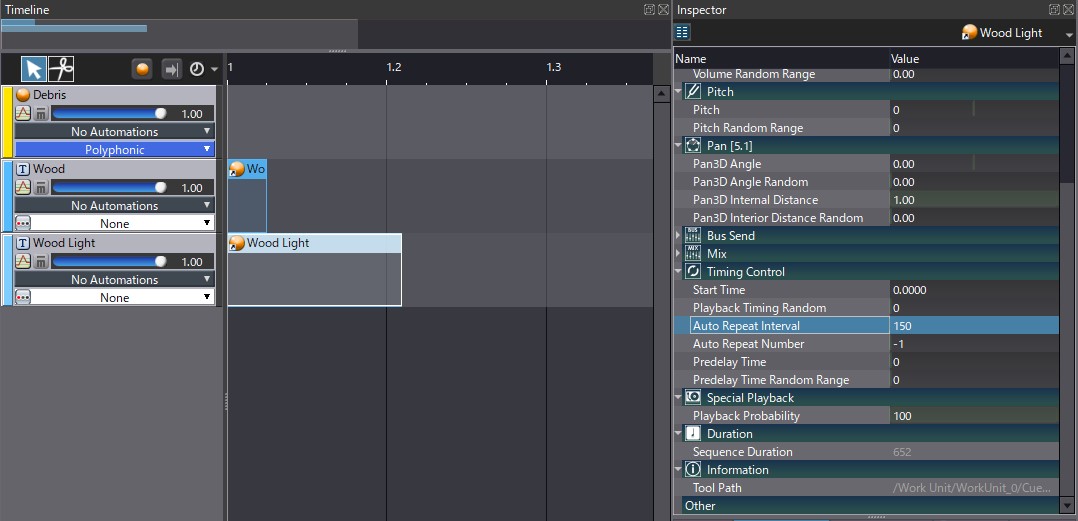
- For each CueLink, open its Inspector panel.
- Then in the Timing Control section, enter a value between 50 and 150ms in the Auto Repeat Interval property.
The Auto Repeat Interval property allows for the constant retriggering of a sound at a specific interval. When set to 0 as by default, the sound will repeat immediately after it finished playing. However, you can force the Cue to be retrigger more often thanks to this property. (Also make sure that the Auto Repeat Number is set to -1 if you want to repeat it indefinitely.) In this example, we set the interval to 50ms for the heavy wood debris and to 150ms for the lighter ones, as they are a bit longer and don’t need to be repeated so frequently. These intervals should be adjusted based on content used.
The sound generated by triggering the Debris Cue is now much closer to what is expected for wood debris.
Making it interactive
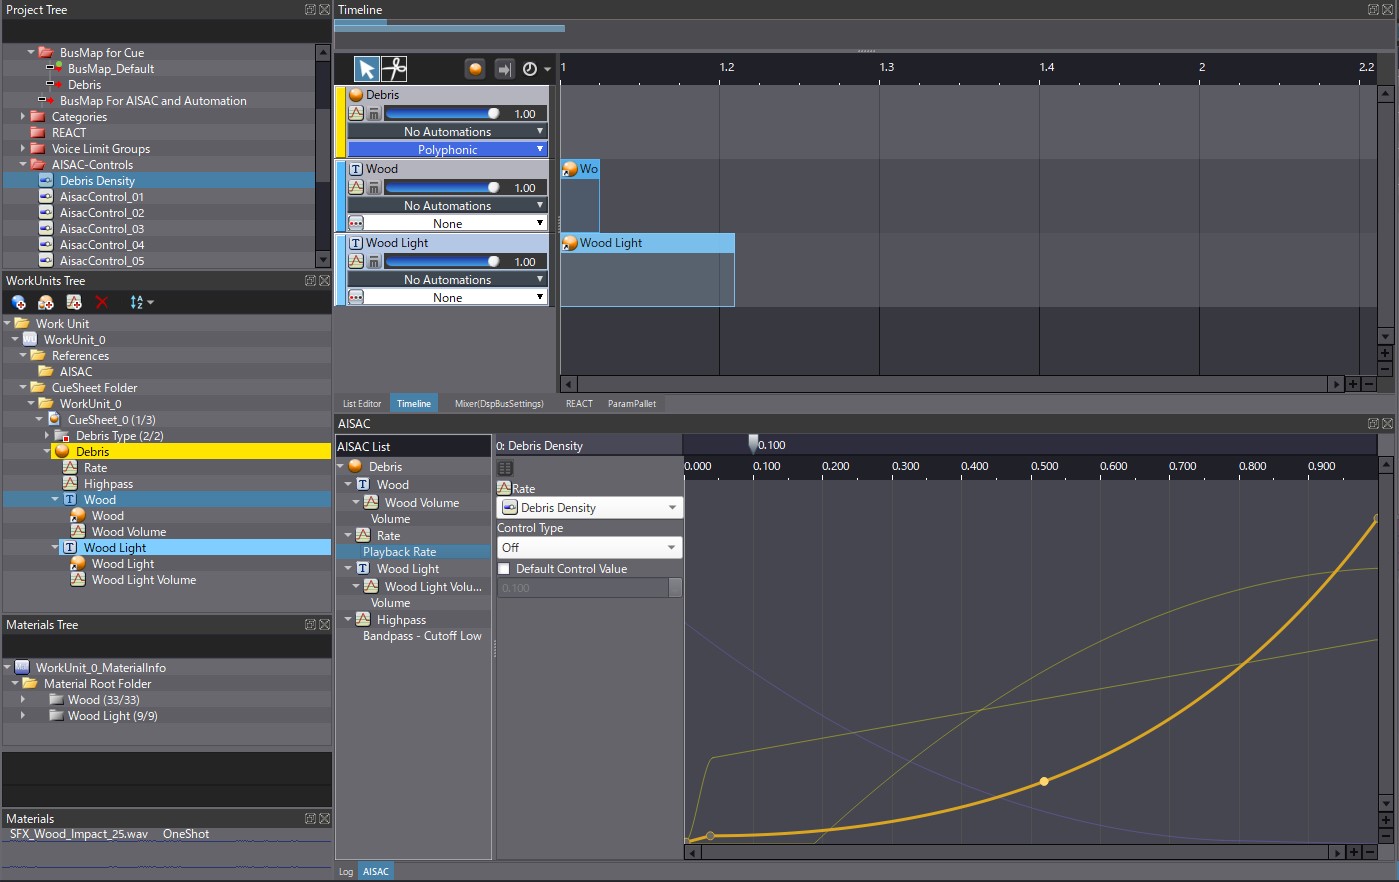
Finally, in a game, you will probably want to create debris of various densities depending on what is actually happening in a scene. To achieve this, let’s create an AISAC named Debris Density that will control the rate at which the debris samples are triggered. If we assign the AISAC control to the Playback Rate of the Cue, it will change the playback speed of our timeline, and therefore also control the Auto Repeat Interval we set earlier. Thank to this AISAC, it is now possible to create realistic debris sounds!
For even more realism, the same AISAC can be set to control the volumes of the light and heavy debris Tracks. This will allow to focus more on the lighter debris when the Playback rate is low, and to progressively increase the Volume of the other layer as the rate goes up. The AISAC can also be assigned to the cutoff of the Highpass filter of the Debris Cue to make the sound even lighter when the rate is low.
As a final touch, the Debris Cue can be routed through a Multi-Tap delay and a Reverb to create some space.
Thanks to this system, it is now possible to generate hundreds of debris sounds dynamically, by calling a single Cue and controlling it with a unique AISAC!
 AtomCraft_Project_Debris_System