
Using McDSP Plugins with ADX2 and Unity – 2
Introduction
The McDSP plugins offer efficient, high-quality effects processing that can be easily integrated into your ADX2 projects. Our most recent blog covers setting everything up, and in this blog, we will cover tips for the different problems that this suite can solve.
If you want to try these plugins out on your projects, you can access a 30-day by loading and activating the McDSP plugins included with the CRIWARE tools. Follow along with the blog linked above if you need help getting started.
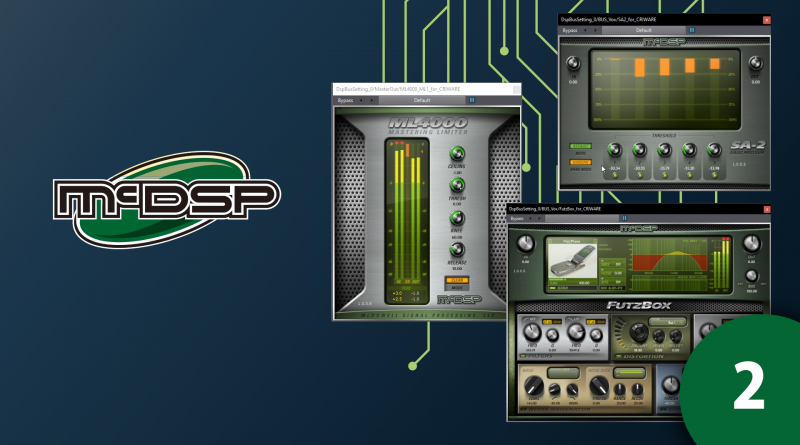
Levelling dialog in the final audio mix – SA-2
Once all the audio assets have been imported and implemented within our game, we then need to ensure that they are all mixed coherently. This factor is especially crucial for dialog since our ears are especially sensitive to the nuances of human speech. This is where the McDSP SA-2 comes in handy. SA-2 is a multi-band active EQ that is specifically tailored for transparent dialog processing. It can help to act as a final glue on your dialog stems, adding that final touch of polish and finesse.
In the example above, you can hear the subtle flattening that the SA-2 applies to the dialog. The assault mode is quite aggressive for most dialog, but perhaps this is just what we might need for certain scenes!
Diegetic Dialog Processing – FutzBox
In our January blog, we looked at transitioning sounds between 2D and 3D, where the 2D sound had some filtering applied to make it sound like a communication device. FutzBox offers a lot more customisation with performant, high-quality results. From old phones to small TV speakers, and even a PVC pipe, FutzBox has a wide variety of quick simulation options. The dialog can then be further tweaked via filtering, distortion, and the addition of some noise, to craft a truly bespoke solution. The results, of course, sound great.
With a few quick adjustments, we can achieve much better results than merely using EQ and filtering, all while retaining the flexibility of doing this within Atom Craft. We could create several different types of diegetic speakers and set them up as Snapshots, switching between them as necessary. Designing our system in this way saves space over having several different stems of the same audio which have been processed offline.
Brickwall Limiting the Master Out – ML4000
It is a given that a mix should have plenty of headroom; however, with the unpredictable interactive nature of games, it’s essential to use safeguards to ensure nothing ever clips. The ML4000 ML1 is a flexible, low latency brick wall look-ahead limiter that solves our potential clipping problem. Using the ML1 on the Master Out in Atom Craft with the Ceiling set to -1.0 is a simple way to ensure the signal never gets too hot. Then, by setting the adjusting the Knee and Mode settings, you can adjust the overall response of the limiter.
Used on the master bus, transparent settings such as setting Mode to “Clean” and Knee to “60” can help rein in everything. However, used on a submix such as for our weaponry, setting Mode to “Loud” and being a little more aggressive with the Threshold, can help to add more punch to the specific parts of the mix.
The above example is a simulation of the type of audio that might be triggering within a given scene. Several ambience layers played at the same time as gunfire, and an explosion has the potential to incur clipping despite our best efforts.
Conclusion
There are many more ways that these tools can be used, but hopefully, this blog has helped to highlight how useful these tools are in solving some common problems.