

Bouncing Cues in AtomCraft
Let’s bounce!
AtomCraft offers a bouncing feature, which allows for the recording and mixing of several tracks into a single wave file.
This can prove very useful in a number of ways, especially if you want to reuse the actual game sounds in a promotional material such as a teaser video, or if you want to lower the CPU load by rendering a fixed version of several tracks.
It is very similar to a bouncing operation in a DAW, except for the fact that it is done in real-time and that the potential randomization of the waves played and their parameters means that bouncing the exact same tracks in AtomCraft several times may result in different wave files.
On the menu…
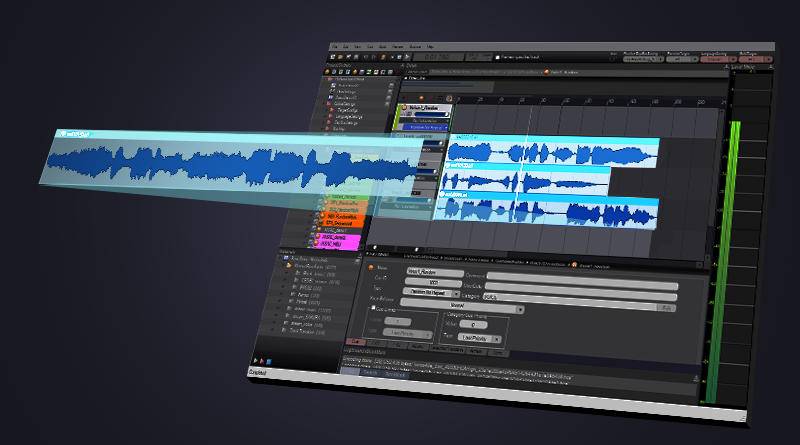
The bouncing feature in AtomCraft has its own menu at the top of the window, depicted below.

The “Start Bounce” command initiates the bouncing. From this point, any sounds being played back will be recoded and mixed into a “bouce.wav” audio file.
The bouncing operation does not stop automatically (for example when the playback of a waveform if finished): you have to use the “Stop Bounce” command to manually stop it. This allows you to wait for a reverb tail or an effect to finish or for a given number of loops to be played before actually stopping the bouncing.

The “Cue Bounce” and “Cue Bounce 6ch” commands are similar to “Start Bounce”, except that they will bounce the currently selected Cue. “Cue Bounce 6ch” performs a bounce using the default 5.1 channel order. The name of the file generated by these two commands will be the name of the selected Cue with the .wav extension.
All bounces files are saved in the output folder specified when calling the “Set Output” command from the menu. By default, it is the Material folder of the current Work Unit.
Settings
The last command on the Bounce menu lets you to adjust the settings of the bouncing operation.

The first 3 parameters deal with the duration of the bouncing. The “Use Cue Length” option allows you to tell AtomCraft that it should automatically stop at the end of the Cue, while the “Time for Reverberations” will be added to make sure that the tail of an effect – such as a reverberation – will be recorded. The “Max Bounce Time” is used to stop the bouncing automatically after a given time. This is mainly used in two cases: if you want to loop a Cue or if you are bouncing with the “Start Bounce” command and have to manually stop the operation. It is a good safeguard as if you forget to press on the “Stop Bounce” button, a rather large wave file will be created!
The “Channels” parameter is self-explanatory and determines the number of channels of the resulting wave file. The “Overwrite Bounce File” option allows you to replace an existing bounce file with the same name, while “Open File after Bounce” will open the resulting file automatically in your favourite audio editor once the bouncing operation is finished. Of course, for this function to work, you have to specify the path to that application in the AtomCraft properties. Make sure that it is the case by going into the “Tool” menu, selecting “Properties” and, in the left panel of the windows that appears, choosing “Other”. You can now edit the path to the “External Editor”.

Finally, you can add the bounced waveform to a new track with the “Add New Track” option. It will be registered as a Material with the “Output Material Path”.
That’s it! You know everything about bouncing in AtomCraft, a feature that has the potential to save you a lot of time, make your marketing department happy, or your CPU cycles decrease dramatically…