Interactive Music with ADX2
There are many powerful ways to implement interactive music with AtomCraft. In this tutorial, we are going to introduce the Block playback system. Blocks allow you to organize your Cues in sections that can be played in a different order depending on the game context.
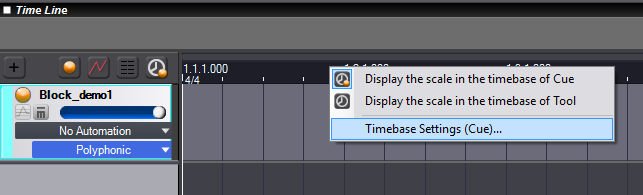
Step 1: Change the display units of the timeline to bars and beats.
• Open your Cue and right-click on the ruler, then select [Timebase Settings]
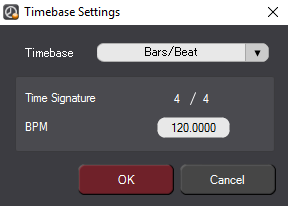
• In the [Timebase Settings] window choose Bars/Beat
Step 2: Create Blocks in a Cue.
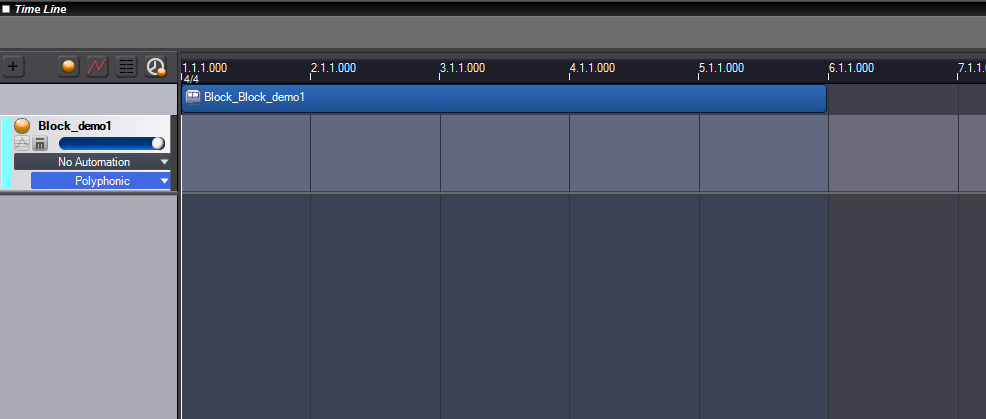
• Right-click on the timeline and in the context menu, select [New Object].
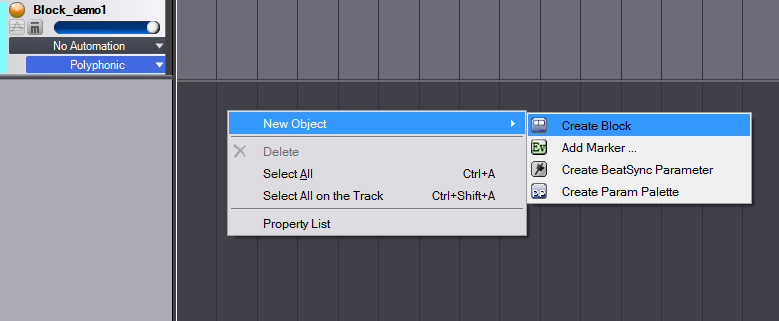
• Chose [Create Block].
A new Block appears at the top of the timeline.
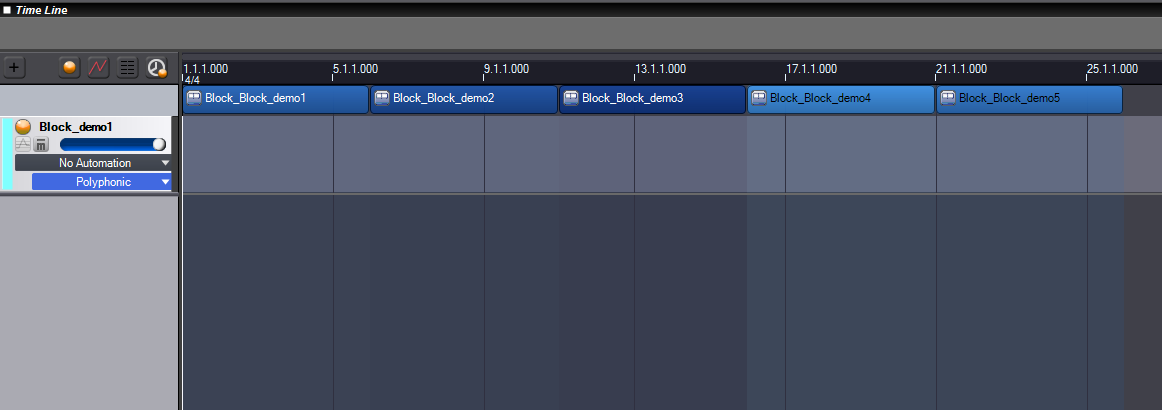
• Create more Blocks for your music
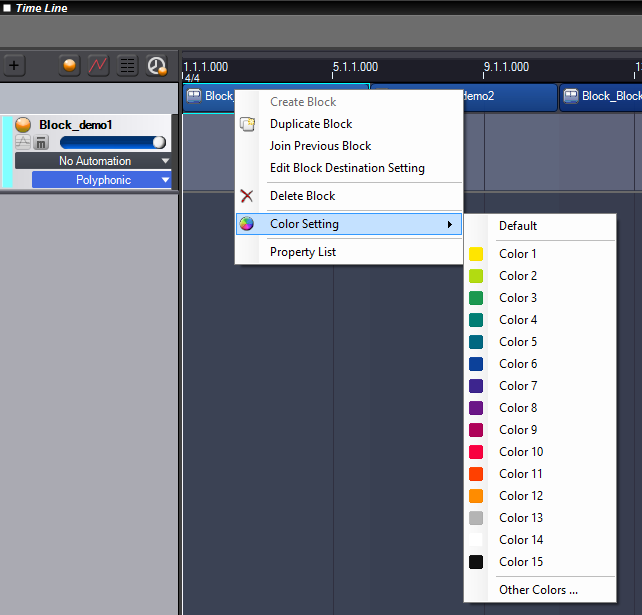
Step 3: If you like, you can change the color of your Blocks.
• Right-click on a Block and select [color settings].
Step 4: Add your music!
• Create a Track per instrument or per type of music loop.
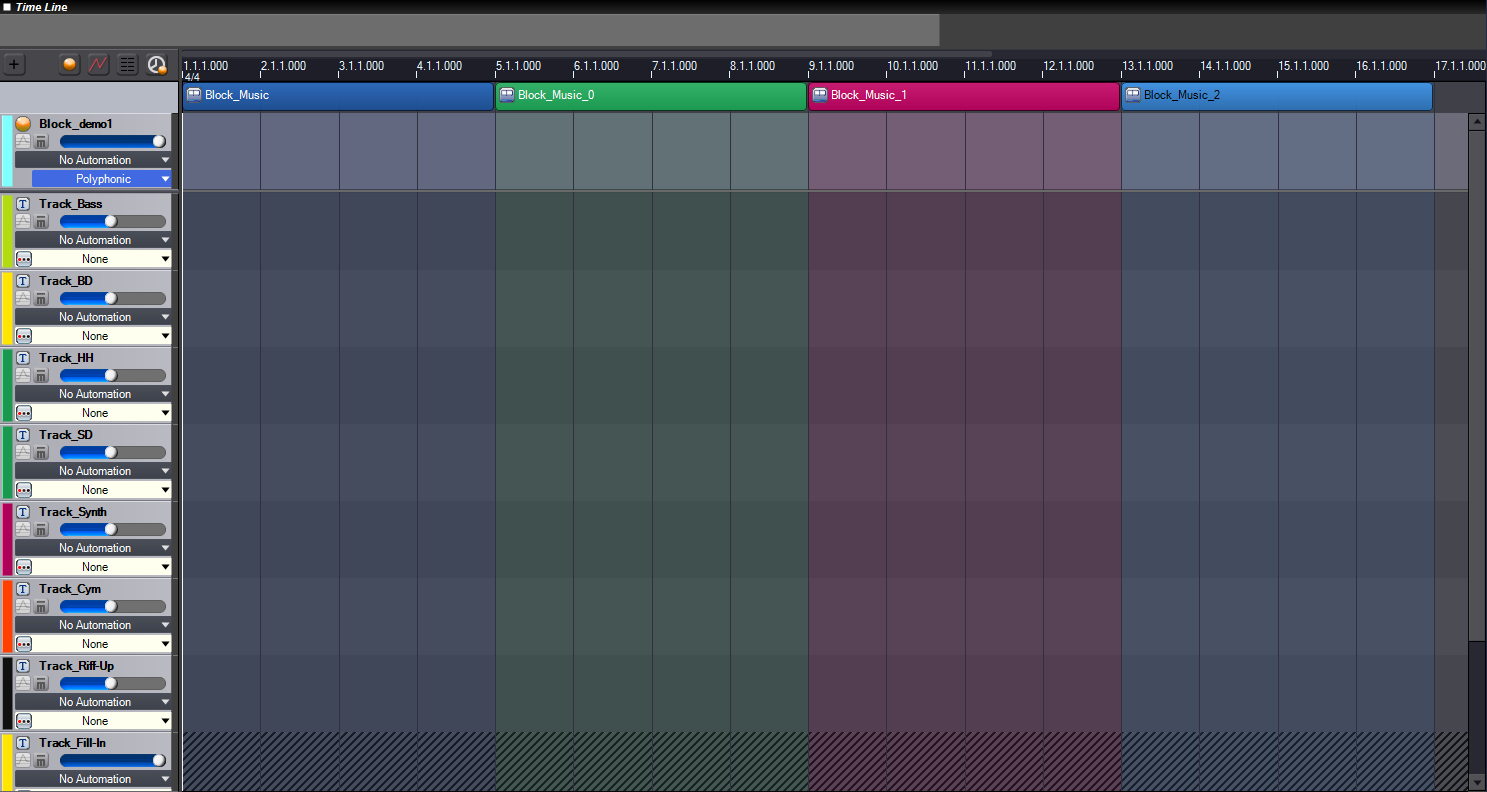
• Simply drop the loops on the right tracks in the appropriate Blocks.

Step 5: Define the Block’s behavior.
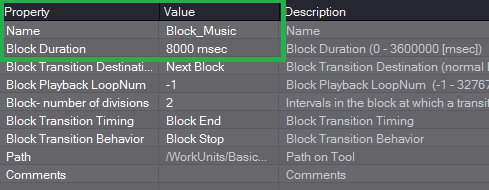
• Double-click on a Block to open the properties pane.
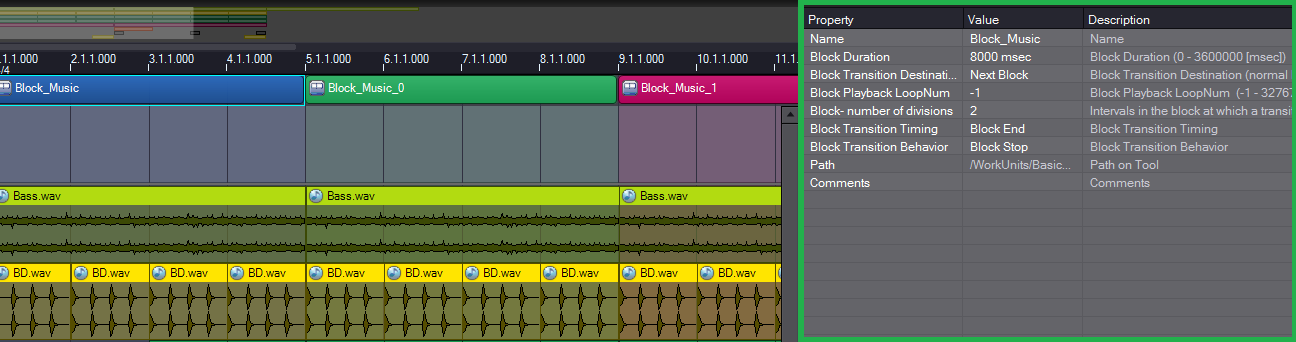
Here we can rename the Block or change its duration.
The Block destination corresponds to where the playback jumps when the Block has finished playing or has reached a transition point.
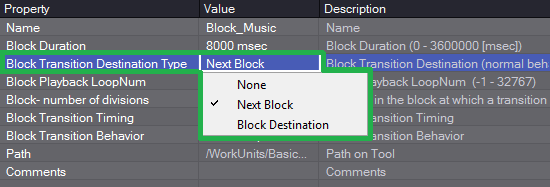
There are 3 types of transitions available:
• The first one is [None]. It will stop the playback at the end of the block.
• The 2nd one is [Next Block]. The Block will transition to the next block.
• The 3rd one is [Block Destination]. The Block will transition to a block from a list of our choice.
If you select 3rd option, the [Block Destination Setting] window will appear.
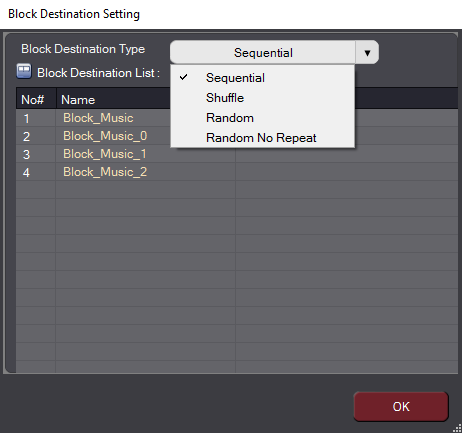
Here we can add or remove destination Blocks and choose among 4 types of transitions.
For instance, if we choose [Sequential] and select a new Block as destination, the current Block will transition to the selected Block at the end of the playback.
If we chose [Random] and insert all the available Blocks, it will transition to a random Block at the end of the playback.
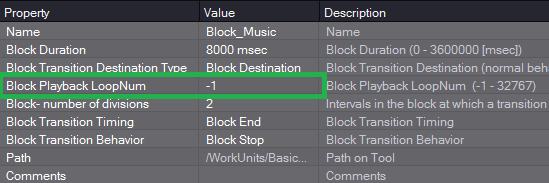
Let’s go back to the Block properties pane.
As seen below, we can define the number of times the Block should loop before transitioning. Enter either -1 for an infinite loop or the number of loops to perform.
The [Block number of divisions] parameter divides the Block in intervals at which transitions can occur.
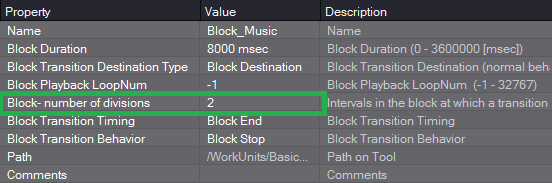
For instance, if we have a 4-bar music loop, set the division number to 4 and select [Division] for the [Block transition timing], the Block will wait until the 1st beat of the next bar before transitioning to the destination Block.

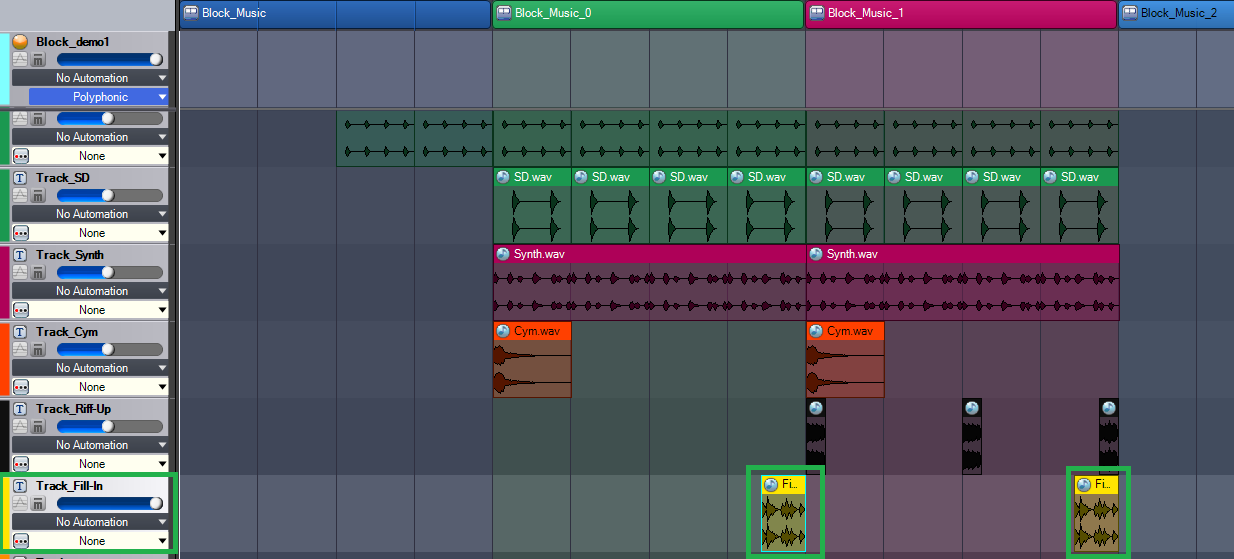
Step 6: Add transitioning Tracks.
It is possible to play a specific Track when transitioning (like an additional jingle).
• To do that, create a Track and add a transition segment at the end of a Block.
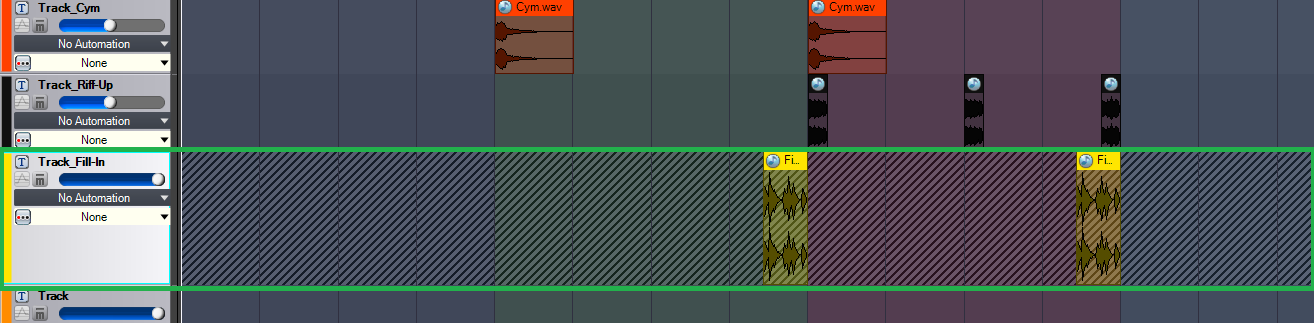
• Right-click on the Track and in the context menu, select the [Block Transition Playback Type] and choose [Playback Transition].

The Track now appears differently to indicate that it will only be playing during transitions.
This concludes our tutorial on the implementation of adaptive music using Blocks.
Note that the Block playback system can also be advantageously used to design complex sound effects relying on a sequence of events, such as mechanisms and so on…